Are you looking to build a fast, secure, and easily maintainable website without dealing with complex databases or server-side scripting? If so, a static site generator like Jekyll might be exactly what you need. Jekyll is the engine behind GitHub Pages, allowing you to transform plain text files into a complete, ready-to-publish static website. While GitHub Pages automatically builds your Jekyll site, installing Jekyll locally offers significant advantages: it allows you to preview changes instantly, experiment with themes and plugins, and debug issues before deploying your site live. This comprehensive guide will walk you through the step-by-step process of installing Jekyll on various operating systems, ensuring you have a smooth setup experience.
Whether you're a seasoned developer or a complete beginner, this article aims to demystify the Jekyll installation process, addressing common pitfalls and providing clear, actionable instructions. By the end of this guide, you'll have a fully functional local Jekyll development environment, ready to create stunning static websites.
What are the prerequisites for installing Jekyll?
Before diving into the installation process, it's crucial to ensure your system meets Jekyll's fundamental requirements. Jekyll is a Ruby Gem, which means it relies heavily on a properly configured Ruby environment. Here's a breakdown of the essential prerequisites:
Ruby
Jekyll requires a specific version of Ruby to function correctly. As of the latest recommendations, you should have Ruby version 2.7.0 or higher. It's important that your Ruby installation includes all development headers, which are necessary for compiling certain Ruby Gems. You can check your current Ruby version by opening your terminal or command prompt and typing: ruby -v. If your Ruby version is older, or if you don't have Ruby installed, you'll need to install it first. We'll cover how to do this for each operating system in the subsequent sections.
RubyGems
RubyGems is Ruby's package manager, similar to npm for JavaScript or pip for Python. It's used to install and manage Ruby libraries, including Jekyll itself. RubyGems is typically bundled with Ruby installations, but it's good practice to verify its presence and version. You can check your RubyGems version by running: gem -v. If you encounter issues, you might need to update RubyGems: gem update --system.
Development Tools (GCC and Make)
Certain Jekyll dependencies, especially those with native extensions, require a C compiler (GCC) and Make utility to be present on your system. These tools are essential for compiling code when installing some Ruby Gems. You can check if they are installed by typing gcc -v, g++ -v, and make -v in your terminal. If these commands are not recognized, you'll need to install them. The installation method varies by operating system, which we'll detail below.
Bundler
While not strictly a prerequisite for Jekyll's basic functionality, Bundler is a highly recommended tool for managing your Jekyll project's dependencies. It ensures that all developers working on a project use the same versions of RubyGems, preventing compatibility issues. You'll install Bundler after you have Ruby and RubyGems set up. The command for installing Bundler is: gem install bundler.
Meeting these prerequisites will lay a solid foundation for a smooth Jekyll installation and development workflow. Now, let's proceed with the installation instructions for your specific operating system.
How do I install Jekyll on Windows?
Installing Jekyll on Windows has become significantly easier over time, though it still requires a few specific steps. The key is to use RubyInstaller for Windows, which bundles Ruby and the Development Kit (DevKit) needed for Jekyll's dependencies.
Step 1: Install Ruby with DevKit
First, you need to download and install Ruby with the DevKit. Navigate to the official RubyInstaller Downloads page. Look for the latest version of RubyInstaller with "WITH DEVKIT" in its name (e.g., "Ruby+Devkit x.x.x (x64)"). Download the executable file.
Once downloaded, run the installer. During the installation wizard, make sure to:
- Check the "Add Ruby executables to your PATH" option. This is crucial for running Ruby commands from any directory in your command prompt.
- On the final screen, check the "Run 'ridk install' to install MSYS2 and development toolchain" option. This will open a new command prompt window to complete the DevKit installation.
In the ridk install command prompt, you'll be presented with options. Typically, you should select the default option (usually '1' for MSYS2 development toolchain) and press Enter. Let the installation complete. This process installs essential tools like GCC and Make.
Step 2: Update RubyGems
After installing Ruby and DevKit, open a new command prompt window (or Git Bash, which is often recommended for a better terminal experience on Windows). It's a good idea to update RubyGems to its latest version to avoid potential issues:
gem update --systemStep 3: Install Jekyll and Bundler
Now, you can install Jekyll and Bundler using RubyGems. In your command prompt, execute the following commands:
gem install jekyll bundlerThis command will download and install Jekyll, its dependencies, and Bundler. This might take a few minutes depending on your internet connection.
Step 4: Verify Installation
To confirm that Jekyll is installed correctly, you can check its version:
jekyll -vYou should see the Jekyll version number printed in the console. If you see a version number, congratulations! Jekyll is successfully installed on your Windows machine.
Troubleshooting on Windows
If you encounter issues, here are some common troubleshooting tips:
- PATH Environment Variable: Ensure that Ruby's executable path is correctly added to your system's PATH environment variable. You can verify this by typing
where rubyin the command prompt. - Antivirus Software: Sometimes, antivirus software can interfere with the installation process, especially when RubyGems tries to download and install various components. Temporarily disabling your antivirus during installation might help.
- Administrator Privileges: While not always necessary, running your command prompt as an administrator can sometimes resolve permission-related issues during gem installation.
- Restart Terminal: After installation, always open a new command prompt window. Changes to environment variables often require a fresh terminal session.
- Read Error Messages: Carefully read any error messages. They often provide clues about what went wrong. Search for the specific error message online; chances are someone else has encountered and solved it.
How do I install Jekyll on macOS?
Installing Jekyll on macOS is generally straightforward, as macOS comes with Ruby pre-installed. However, it's highly recommended not to use the system Ruby for Jekyll development due to potential permission issues and conflicts with macOS updates. Instead, we'll use a Ruby version manager like Homebrew to install and manage Ruby, providing a cleaner and more stable environment.
Step 1: Install Homebrew (if you haven't already)
Homebrew is a popular package manager for macOS that simplifies the installation of various tools and software. If you don't have Homebrew installed, open your Terminal application and paste the following command:
/bin/bash -c "$(curl -fsSL https://raw.githubusercontent.com/Homebrew/install/HEAD/install.sh)"Follow the on-screen instructions, which may include entering your password. Homebrew will install its necessary components and command-line tools for Xcode (if not already present).
Step 2: Install Ruby with Homebrew
Once Homebrew is installed, you can use it to install the latest stable version of Ruby. This ensures you have a modern Ruby environment separate from the system Ruby.
brew install rubyHomebrew will download and install Ruby, along with its dependencies. After the installation completes, Homebrew will provide instructions to add the newly installed Ruby to your system's PATH. It usually looks something like this (the exact path might vary slightly):
echo 'export PATH="/usr/local/opt/ruby/bin:$PATH"' >> ~/.zshrc # For zsh shell (default on modern macOS)
Or for bash shell:
echo 'export PATH="/usr/local/opt/ruby/bin:$PATH"' >> ~/.bash_profile
Make sure to apply the suggested command based on your shell (.zshrc for Zsh or .bash_profile for Bash). Then, restart your Terminal or run source ~/.zshrc (or source ~/.bash_profile) to apply the changes.
Verify that you're using the Homebrew-installed Ruby:
which ruby
ruby -v
The which ruby command should show a path within /usr/local/opt/ruby/bin or similar, and ruby -v should display a recent Ruby version.
Step 3: Install Jekyll and Bundler
With Ruby properly set up, you can now install Jekyll and Bundler using RubyGems:
gem install jekyll bundlerThis command will fetch and install Jekyll and its necessary dependencies. You might be prompted for your password during this process if certain system-level permissions are needed.
Step 4: Verify Installation
To confirm a successful installation, check the Jekyll version:
jekyll -vA version number should be displayed, indicating that Jekyll is ready to use on your macOS system.
Troubleshooting on macOS
Common issues and their solutions on macOS:
- Permissions Errors: If you encounter permission errors when running
gem install, avoid usingsudo gem installunless absolutely necessary, especially if you're using Homebrew-installed Ruby. These errors usually indicate that your Ruby environment is not set up correctly. Ensure Homebrew's Ruby is in your PATH before the system Ruby. - Command Line Developer Tools: Jekyll and its dependencies often require Xcode Command Line Tools. If you haven't installed them, you might see errors related to compiling native extensions. Install them using:
xcode-select --install. - Older Ruby Versions: If you find yourself still using the system Ruby (e.g.,
/usr/bin/ruby), double-check your PATH configuration in your shell's configuration file (.zshrcor.bash_profile) and ensure you've sourced it after making changes. - Bundler Issues: If you're working on an existing Jekyll project and encounter gem conflicts, running
bundle installwithin your project directory after setting up Jekyll is crucial.
How do I install Jekyll on Linux?
Installing Jekyll on Linux distributions typically involves installing Ruby and its development headers through your distribution's package manager, then using RubyGems to install Jekyll itself. This guide will focus on Debian/Ubuntu-based systems, but the principles are similar for other distributions like Fedora or Arch Linux.
Step 1: Update System Packages
It's always a good idea to start by updating your system's package list:
sudo apt updateAnd then upgrade any existing packages:
sudo apt upgradeStep 2: Install Ruby and Development Headers
You'll need to install Ruby along with its full development headers and other build essentials. This ensures that any Ruby Gems with native extensions can be compiled correctly. For Debian/Ubuntu-based systems, use the following command:
sudo apt install ruby-full build-essential zlib1g-devruby-full: Installs the complete Ruby environment.build-essential: Provides essential compilation tools like GCC and Make.zlib1g-dev: A development library often required by Ruby Gems.
Step 3: Configure RubyGems Environment
To avoid installing RubyGems packages as the root user (which can lead to permission issues), it's best to set up a gem installation directory for your user account. This involves adding some environment variables to your shell's configuration file (e.g., ~/.bashrc for Bash or ~/.zshrc for Zsh).
echo '# Install Ruby Gems to ~/gems' >> ~/.bashrc
echo 'export GEM_HOME="$HOME/gems"' >> ~/.bashrc
echo 'export PATH="$HOME/gems/bin:$PATH"' >> ~/.bashrc
source ~/.bashrc
If you're using a different shell (e.g., Zsh), replace ~/.bashrc with ~/.zshrc. After adding these lines, either restart your terminal session or run source ~/.bashrc (or your relevant shell config file) to apply the changes.
Step 4: Install Jekyll and Bundler
Now you can install Jekyll and Bundler using RubyGems:
gem install jekyll bundlerThis command will download and install Jekyll and its dependencies, along with Bundler.
Step 5: Verify Installation
To confirm that Jekyll is installed correctly, check its version:
jekyll -vYou should see the Jekyll version number. If it displays correctly, Jekyll is successfully installed on your Linux system.
Troubleshooting on Linux
Here are some common issues and their solutions on Linux:
- Permission Denied Errors: If you get "Permission denied" errors when running
gem install, it's usually because you haven't set up theGEM_HOMEandPATHenvironment variables correctly as described in Step 3. Avoid usingsudo gem installunless absolutely necessary. - Missing Dependencies: If Jekyll or its dependencies fail to install, the error message often indicates a missing development header or library. Ensure you've installed
build-essentialand any other recommended packages likezlib1g-dev. - Ruby Version Conflicts: If you have multiple Ruby versions installed (e.g., through rbenv or RVM), ensure that the correct Ruby version is active and in your PATH when installing Jekyll.
- Outdated System: Make sure your package lists are up-to-date with
sudo apt updatebefore attempting to install new software.
How do I create a new Jekyll site and serve it locally?
Once Jekyll is installed, you can quickly create a new project and preview it in your browser. This section will guide you through the process of setting up a new Jekyll site and running it on your local machine.
Step 1: Create a New Jekyll Site
To create a new Jekyll site, open your terminal or command prompt and navigate to the directory where you want to create your project. Then, use the jekyll new command, followed by the name of your new site's directory. For example, to create a site named "my-awesome-blog":
jekyll new my-awesome-blogJekyll will generate a new directory named my-awesome-blog with a basic site structure, including a default theme, configuration files, and sample posts. If you prefer a blank site without a default theme, you can add the --blank flag:
jekyll new my-blank-site --blankStep 2: Navigate into Your New Site's Directory
Change your current directory to the newly created Jekyll site:
cd my-awesome-blogStep 3: Install Project Dependencies with Bundler
Inside your Jekyll project directory, you'll find a file named Gemfile. This file lists all the Ruby Gem dependencies for your specific Jekyll site, including the Jekyll gem itself and any theme or plugins you might use. To install these dependencies, use Bundler:
bundle installBundler will read the Gemfile and download all the necessary gems, ensuring that your project has the correct versions of its dependencies. This is crucial for consistent development, especially when working on a team or deploying to GitHub Pages.
Step 4: Serve Your Jekyll Site Locally
After installing the dependencies, you can start Jekyll's local development server. This will build your site and serve it, allowing you to view it in your web browser. The jekyll serve command is your go-to for this:
bundle exec jekyll serveThe bundle exec prefix ensures that Jekyll runs using the gems specified in your project's Gemfile.lock, rather than any globally installed versions. This prevents potential version conflicts.
Once the server starts, you'll see output similar to this:
Configuration file: /path/to/my-awesome-blog/_config.yml
Source: /path/to/my-awesome-blog
Destination: /path/to/my-awesome-blog/_site
Incremental build: disabled. Enable with --incremental
Generating...
done in X.X seconds.
Auto-regeneration: enabled for '/path/to/my-awesome-blog'
Server address: http://127.0.0.1:4000/
Server running... press ctrl-c to stop.
You can now open your web browser and navigate to the "Server address" (usually http://127.0.0.1:4000/ or http://localhost:4000/) to view your Jekyll site. Any changes you make to your site's files (e.g., Markdown posts, HTML layouts, CSS stylesheets) will be automatically detected by Jekyll, and your browser will refresh to show the updated content. This "auto-regeneration" feature is a powerful aspect of Jekyll's development workflow.
Stopping the Server
To stop the Jekyll development server, simply press Ctrl + C in your terminal window.
What are the common Jekyll commands and their uses?
Jekyll provides a set of powerful command-line tools to help you manage and build your static sites. Understanding these commands is key to an efficient development workflow.
jekyll new [PATH]
This command is used to create a new Jekyll site at the specified path. If no path is provided, it creates a new site in the current directory. You can also add the --blank flag to create a site without the default theme, giving you a completely empty canvas to start from.
Example:
jekyll new my-new-project
jekyll new my-portfolio --blank
jekyll build or jekyll b
This command builds your Jekyll site and generates the static HTML, CSS, and JavaScript files in the _site directory (by default). This is typically what you'd run when you're ready to deploy your site to a web server or GitHub Pages. Unlike jekyll serve, it performs a one-off build and then exits.
Example:
bundle exec jekyll buildjekyll serve or jekyll s
As discussed earlier, this command builds your site and serves it locally, allowing you to preview it in your browser. It also includes an auto-regeneration feature, meaning it watches for changes in your source files and automatically rebuilds the site, refreshing your browser. This is your primary command during development.
Example:
bundle exec jekyll serveUseful options for jekyll serve include:
--port [PORT]: Specifies a different port if the default 4000 is already in use (e.g.,jekyll serve --port 4001).--host [HOST]: Specifies a different host address (e.g.,jekyll serve --host 0.0.0.0for network access).--baseurl [URL]: Sets the base URL for your site, useful when deploying to a subdirectory (e.g.,jekyll serve --baseurl /blog).--drafts: Includes posts in the_draftsfolder during the build.--future: Publishes posts with a future date.
jekyll clean
This command removes all generated files, including the _site directory, the metadata file (.jekyll-metadata), Sass and Jekyll caches. It's useful for ensuring a fresh build and troubleshooting obscure issues. It's a good practice to run this occasionally, especially if you encounter unexpected build problems.
Example:
bundle exec jekyll cleanjekyll doctor
This command outputs any deprecation warnings or configuration issues in your Jekyll site. It's a helpful tool for identifying potential problems and ensuring your site is compatible with the latest Jekyll best practices.
Example:
bundle exec jekyll doctorjekyll help [COMMAND]
If you need more information about a specific Jekyll command or general help, you can use the jekyll help command. For example, to learn more about the serve command's options:
Example:
jekyll help serveThese commands form the core of Jekyll development. Familiarizing yourself with them will significantly enhance your productivity and control over your static site projects.
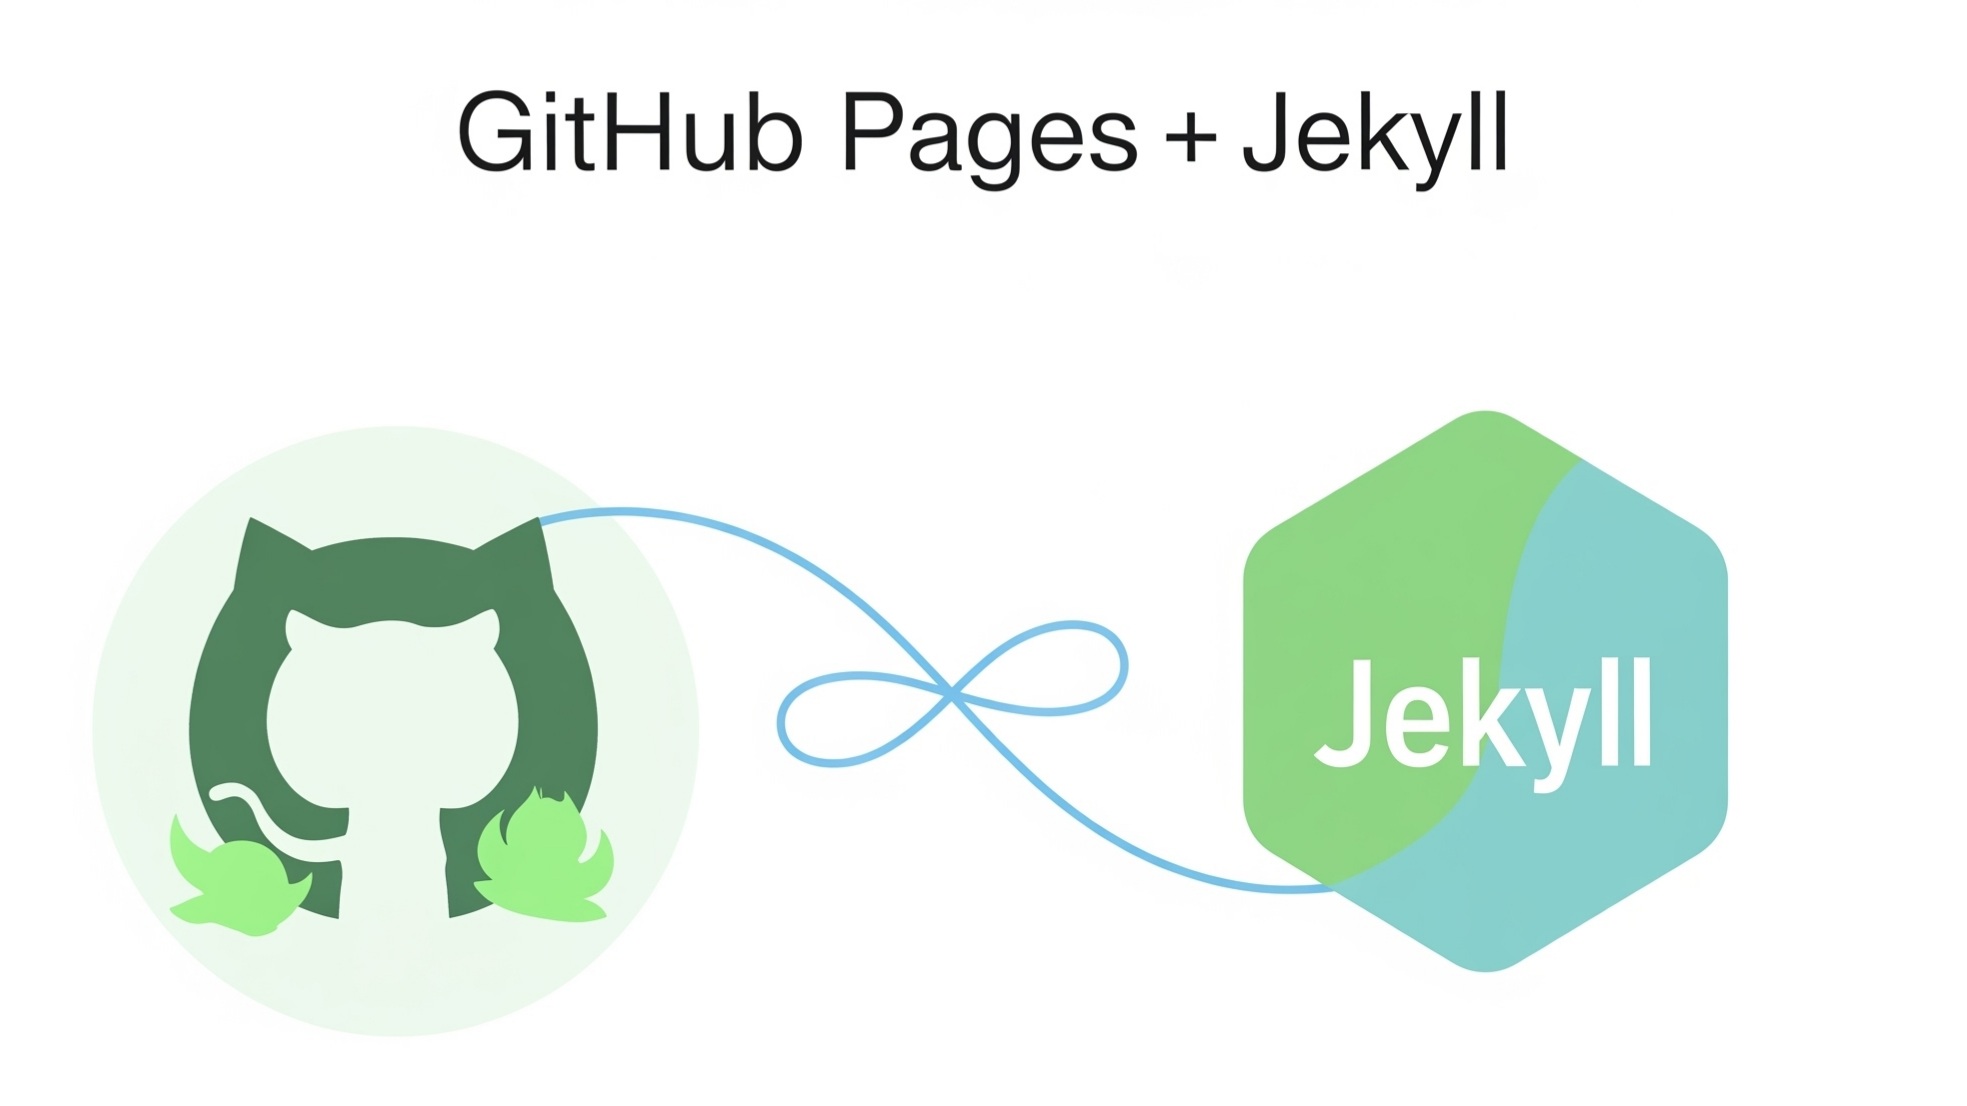
How does Jekyll integrate with GitHub Pages?
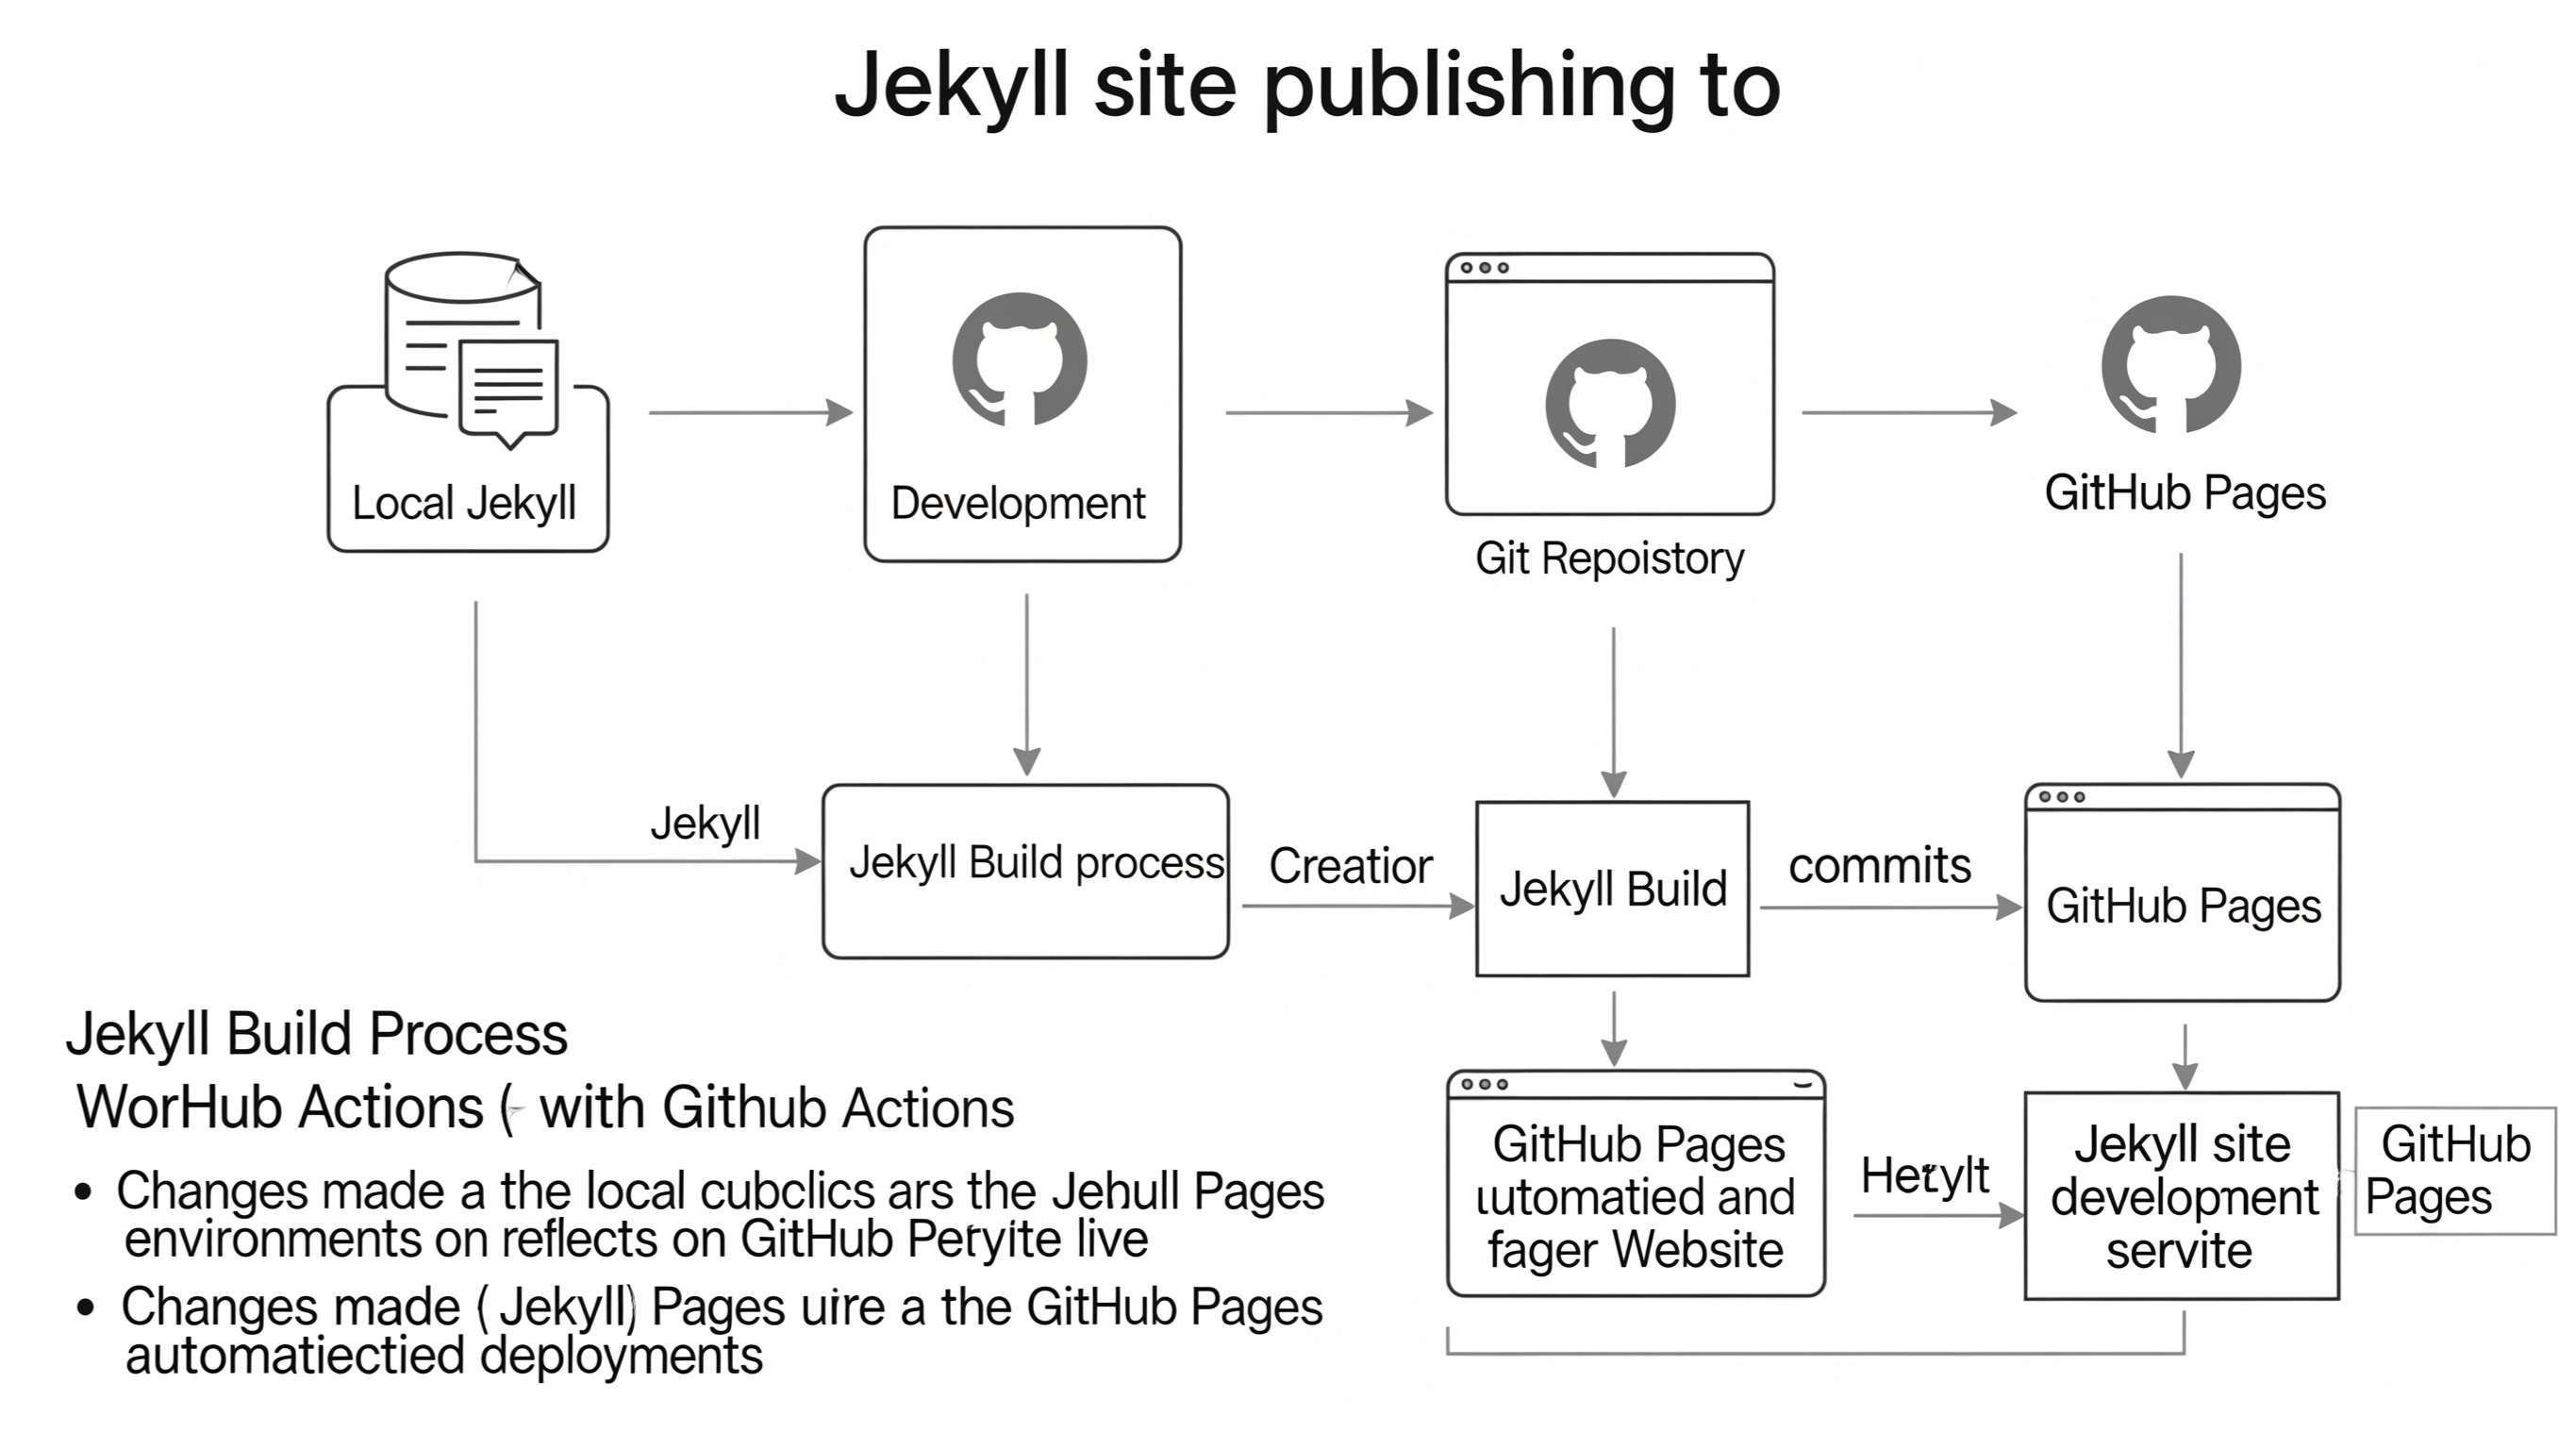
Jekyll and GitHub Pages are a powerful combination, often used together to host static websites for free. In essence, GitHub Pages uses Jekyll as its default static site generator. This means you can build your Jekyll site locally, push it to a GitHub repository, and GitHub Pages will automatically compile and publish it for you.
Automatic Build Process
When you push changes to your GitHub repository (specifically to the branch you've designated as your GitHub Pages source, typically main or gh-pages), GitHub Pages automatically detects the Jekyll site, runs the Jekyll build process on its servers, and deploys the generated static files. This simplifies the deployment process immensely, as you don't need to manually build your site and upload the _site folder.
Local Development with GitHub Pages Compatibility
While GitHub Pages handles the build process, it's still highly beneficial to install Jekyll locally. Local installation allows you to:
- Preview Changes Instantly: See your changes in real-time with Jekyll's local server (
bundle exec jekyll serve) before pushing to GitHub. This significantly speeds up development and debugging. - Experiment Safely: Test out new themes, layouts, or content without affecting your live site.
- Work Offline: Develop your site even without an internet connection.
- Debug More Easily: Local error messages are often more descriptive and immediate than those you might find in GitHub Pages build logs.
To ensure compatibility between your local Jekyll environment and GitHub Pages, it's recommended to include the github-pages gem in your project's Gemfile. This gem installs all the dependencies that GitHub Pages uses, helping to prevent discrepancies between your local build and the live site.
# Gemfile
source "https://rubygems.org"
gem "jekyll"
gem "github-pages", group: :jekyll_plugins # Add this line
Other gems for your site (e.g., themes, other plugins)
gem "minima"
After adding this, run bundle install to install the new gem.
Limitations of GitHub Pages for Jekyll
While convenient, GitHub Pages does impose some limitations on Jekyll sites:
- Safe Mode: GitHub Pages runs Jekyll in "safe mode." This means it only allows a specific set of whitelisted plugins for security reasons. If your Jekyll site relies on custom plugins or plugins not on the whitelist, you'll need to build your site locally (generate the
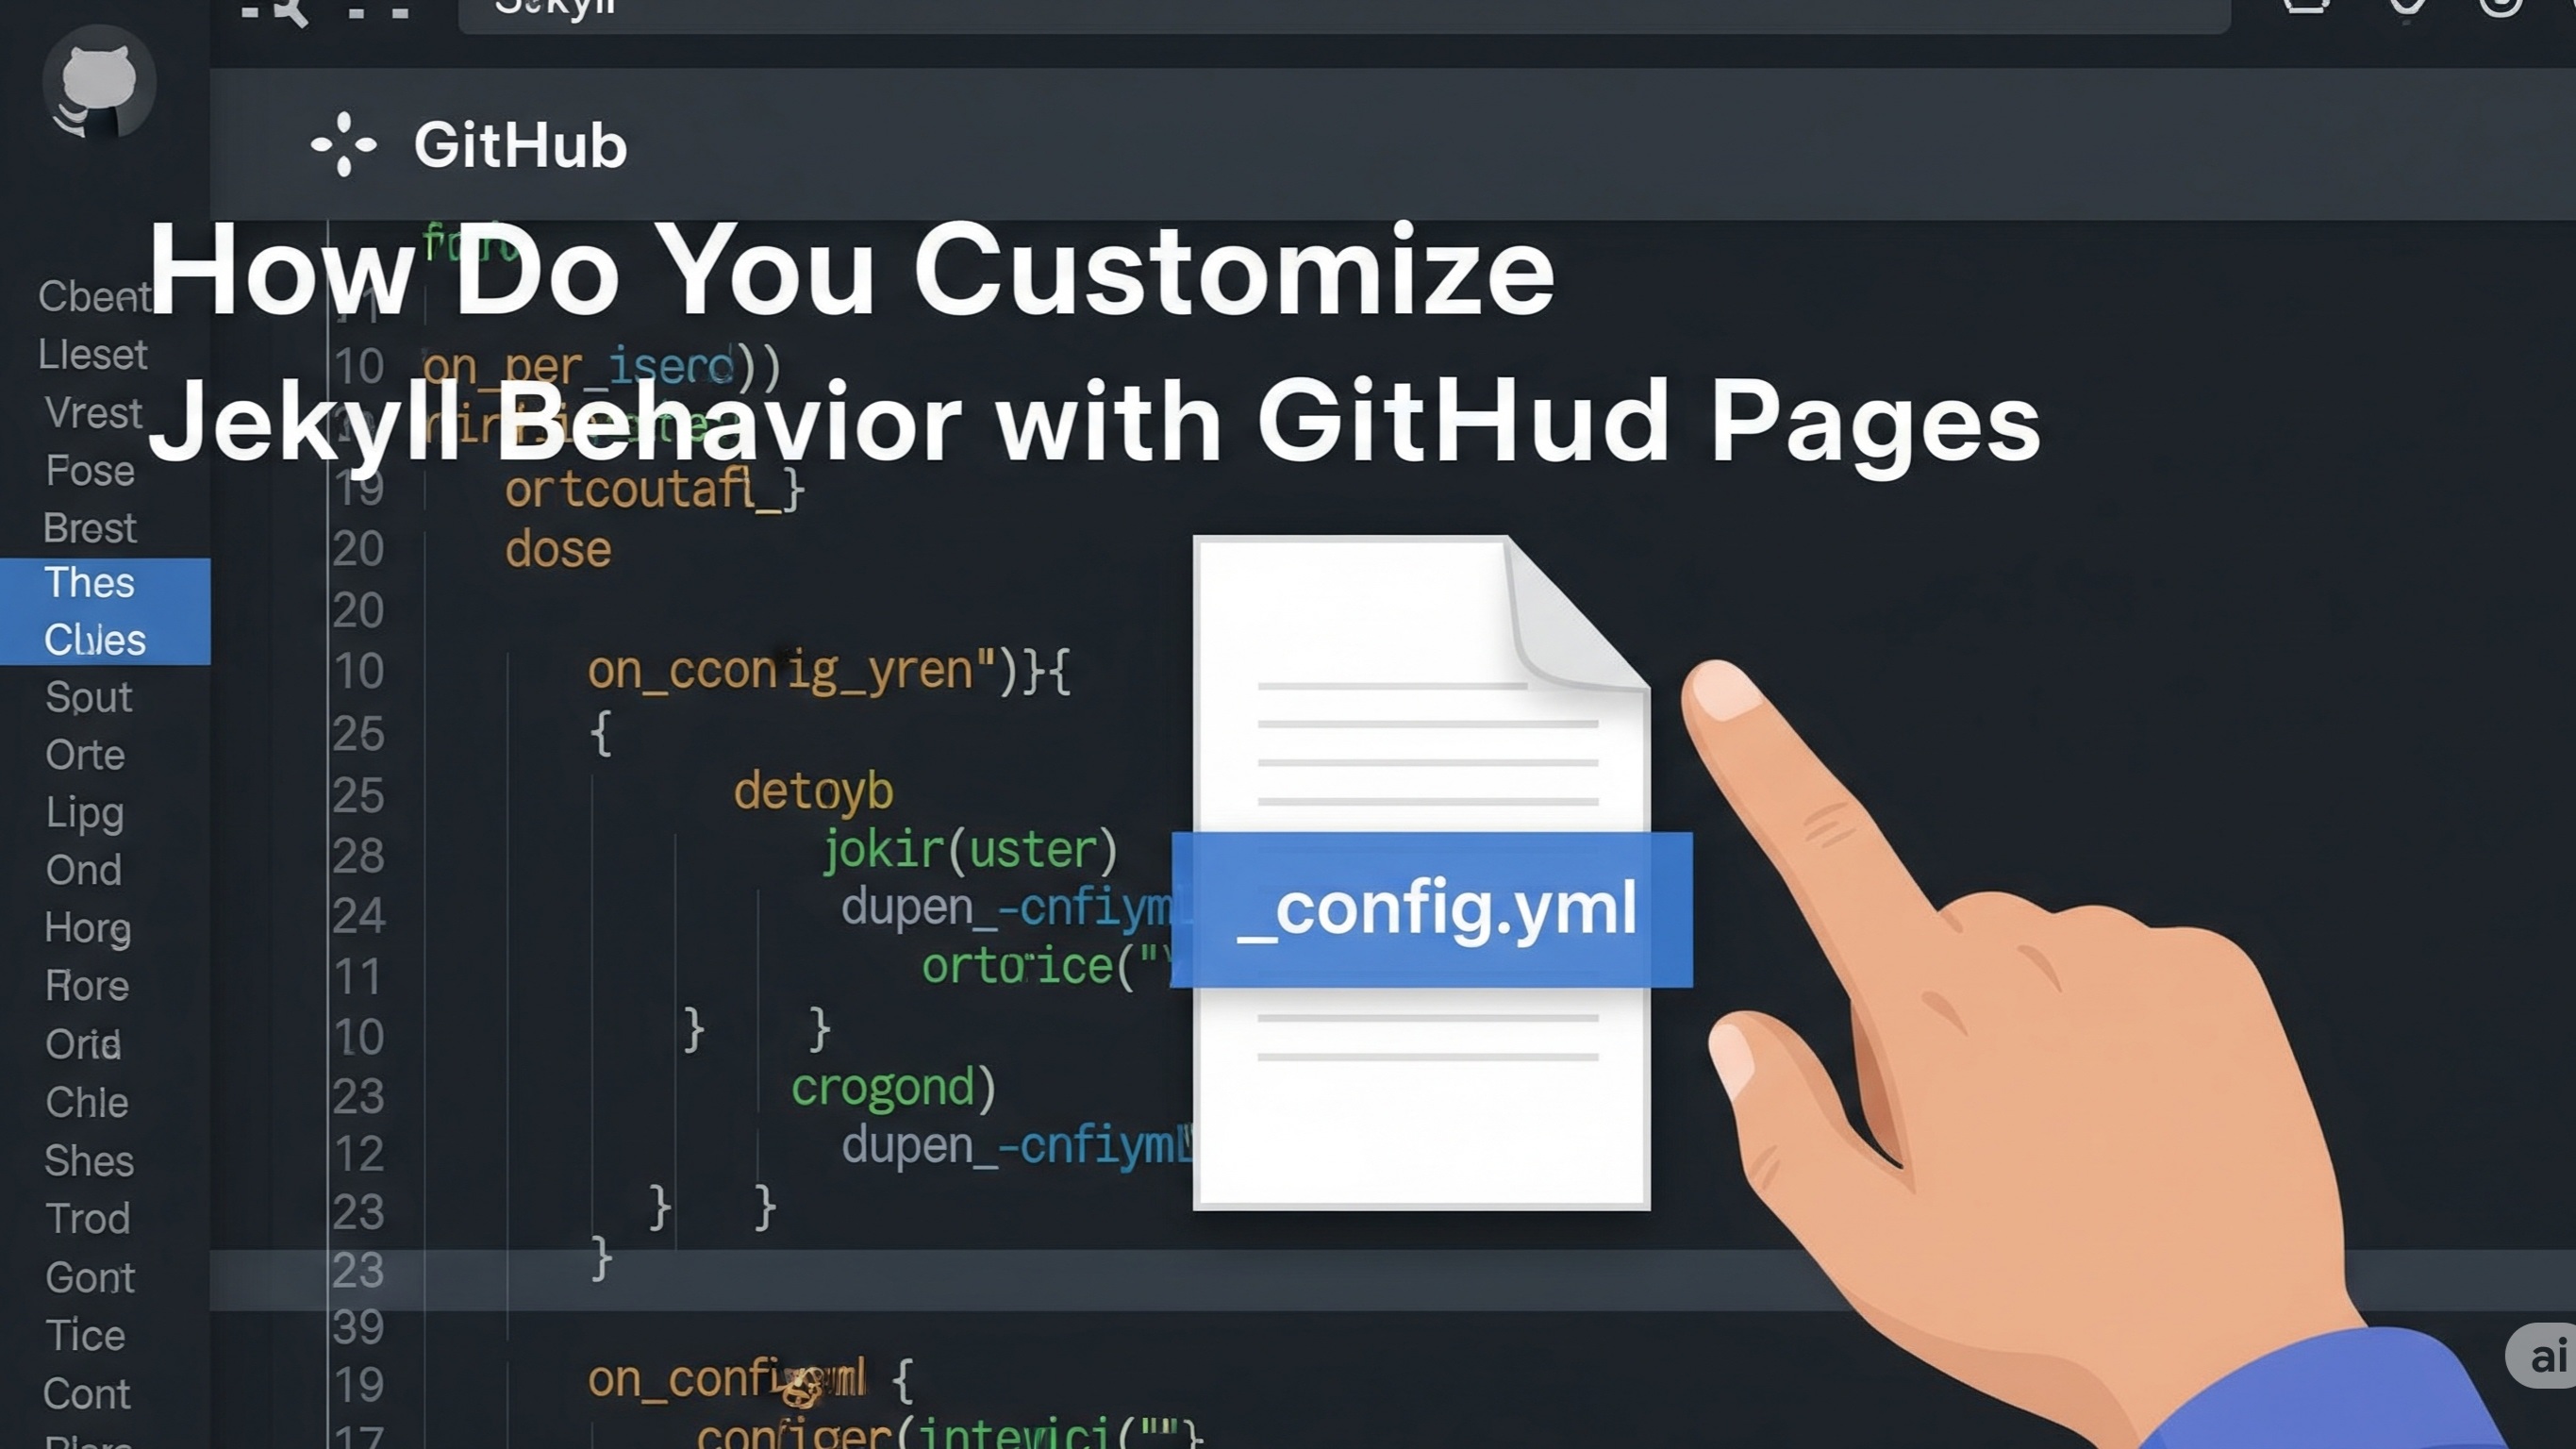
_sitefolder) and push the compiled static files to GitHub, instead of letting GitHub Pages build it. - Configuration Overrides: Certain Jekyll configuration settings in your
_config.ymlfile cannot be overridden by GitHub Pages. These include settings related to paths, incremental builds, and safe mode. - Build Time Limits: There are build time limits on GitHub Pages. Very large or complex Jekyll sites might hit these limits, requiring local pre-building.
Using a Custom Domain with GitHub Pages
You can also use a custom domain name (e.g., https://www.google.com/search?q=yourwebsite.com) with your GitHub Pages site. This involves:
- Adding a CNAME file: Create a file named
CNAME(all caps, no file extension) in the root of your Jekyll project's source directory. Inside this file, simply type your custom domain name (e.g.,www.yourwebsite.com). - Configuring DNS Records: Go to your domain name registrar or DNS provider and create the necessary DNS records (usually an A record or CNAME record) that point to GitHub Pages' servers. GitHub provides specific IP addresses for A records or a CNAME record pointing to
<YOUR_USERNAME>.github.io. - Enforcing HTTPS: GitHub Pages offers free HTTPS for custom domains. Once your custom domain is configured and propagated, you can enable "Enforce HTTPS" in your repository's GitHub Pages settings.
The synergy between Jekyll and GitHub Pages makes it incredibly accessible to host static websites, from personal blogs to project documentation, with minimal effort and cost. By understanding both the local installation and GitHub Pages integration, you gain full control over your development and deployment process.