Why Set Up a Local Jekyll Development Environment?

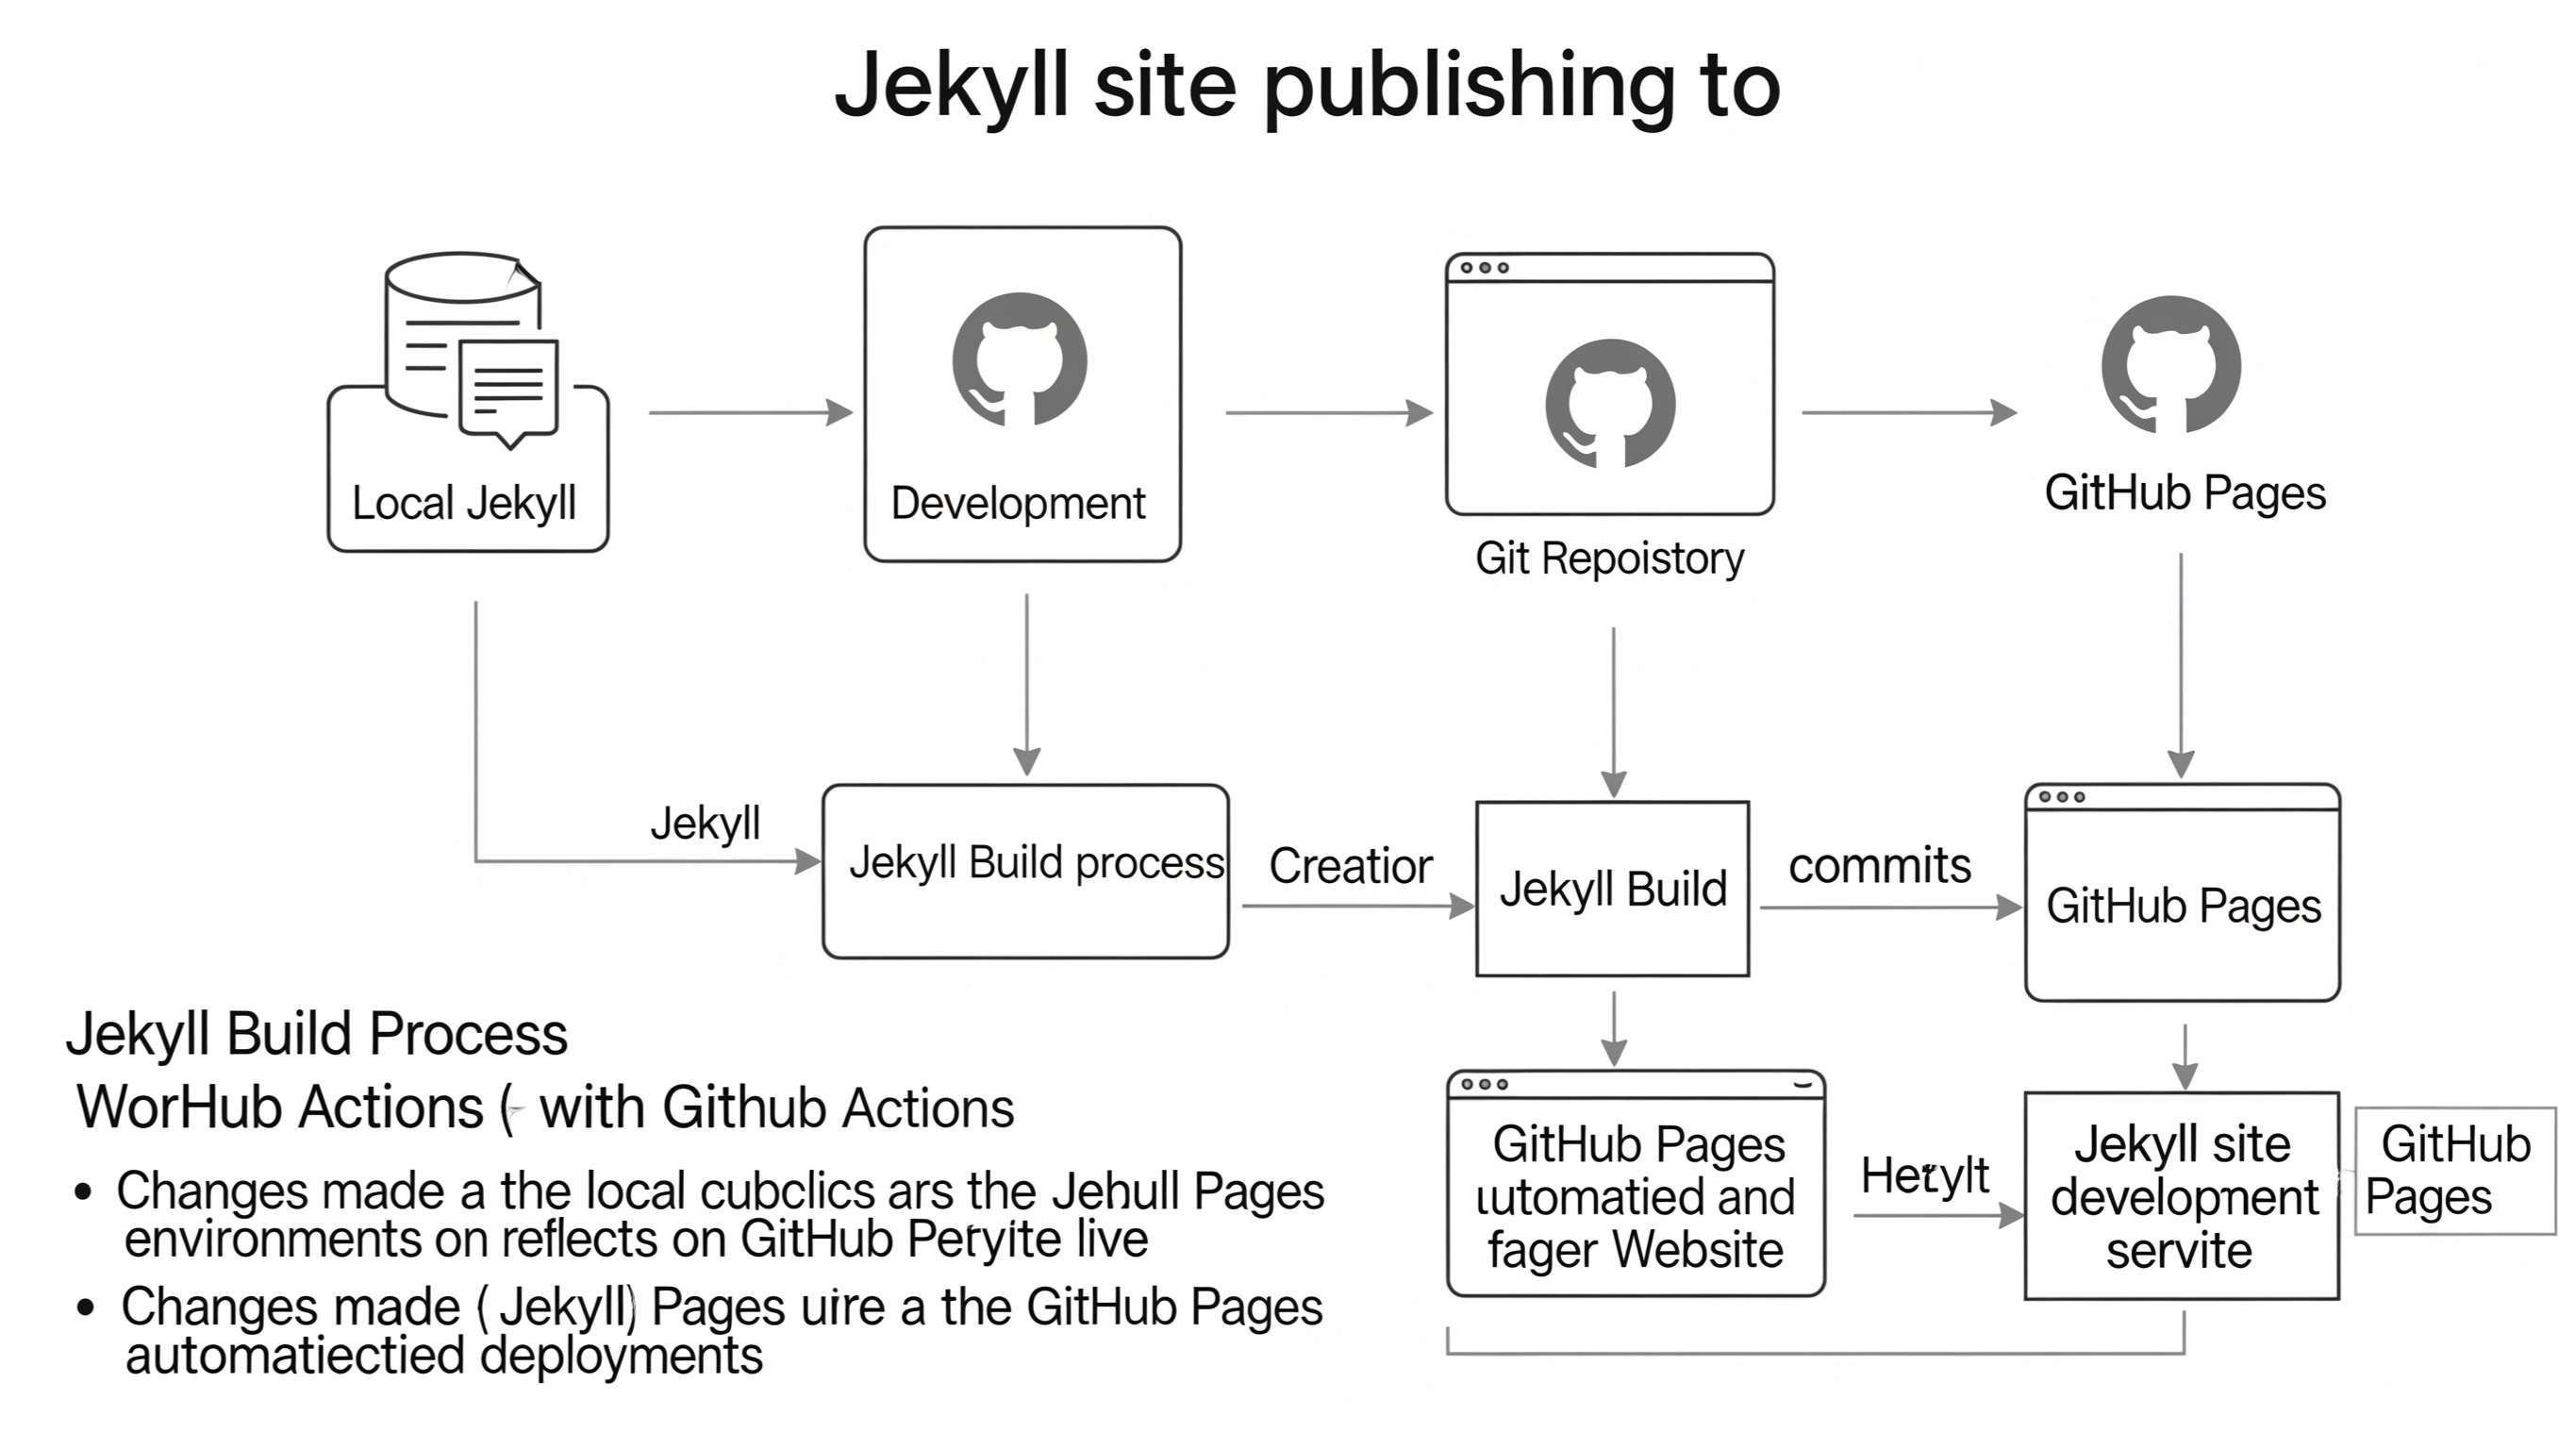
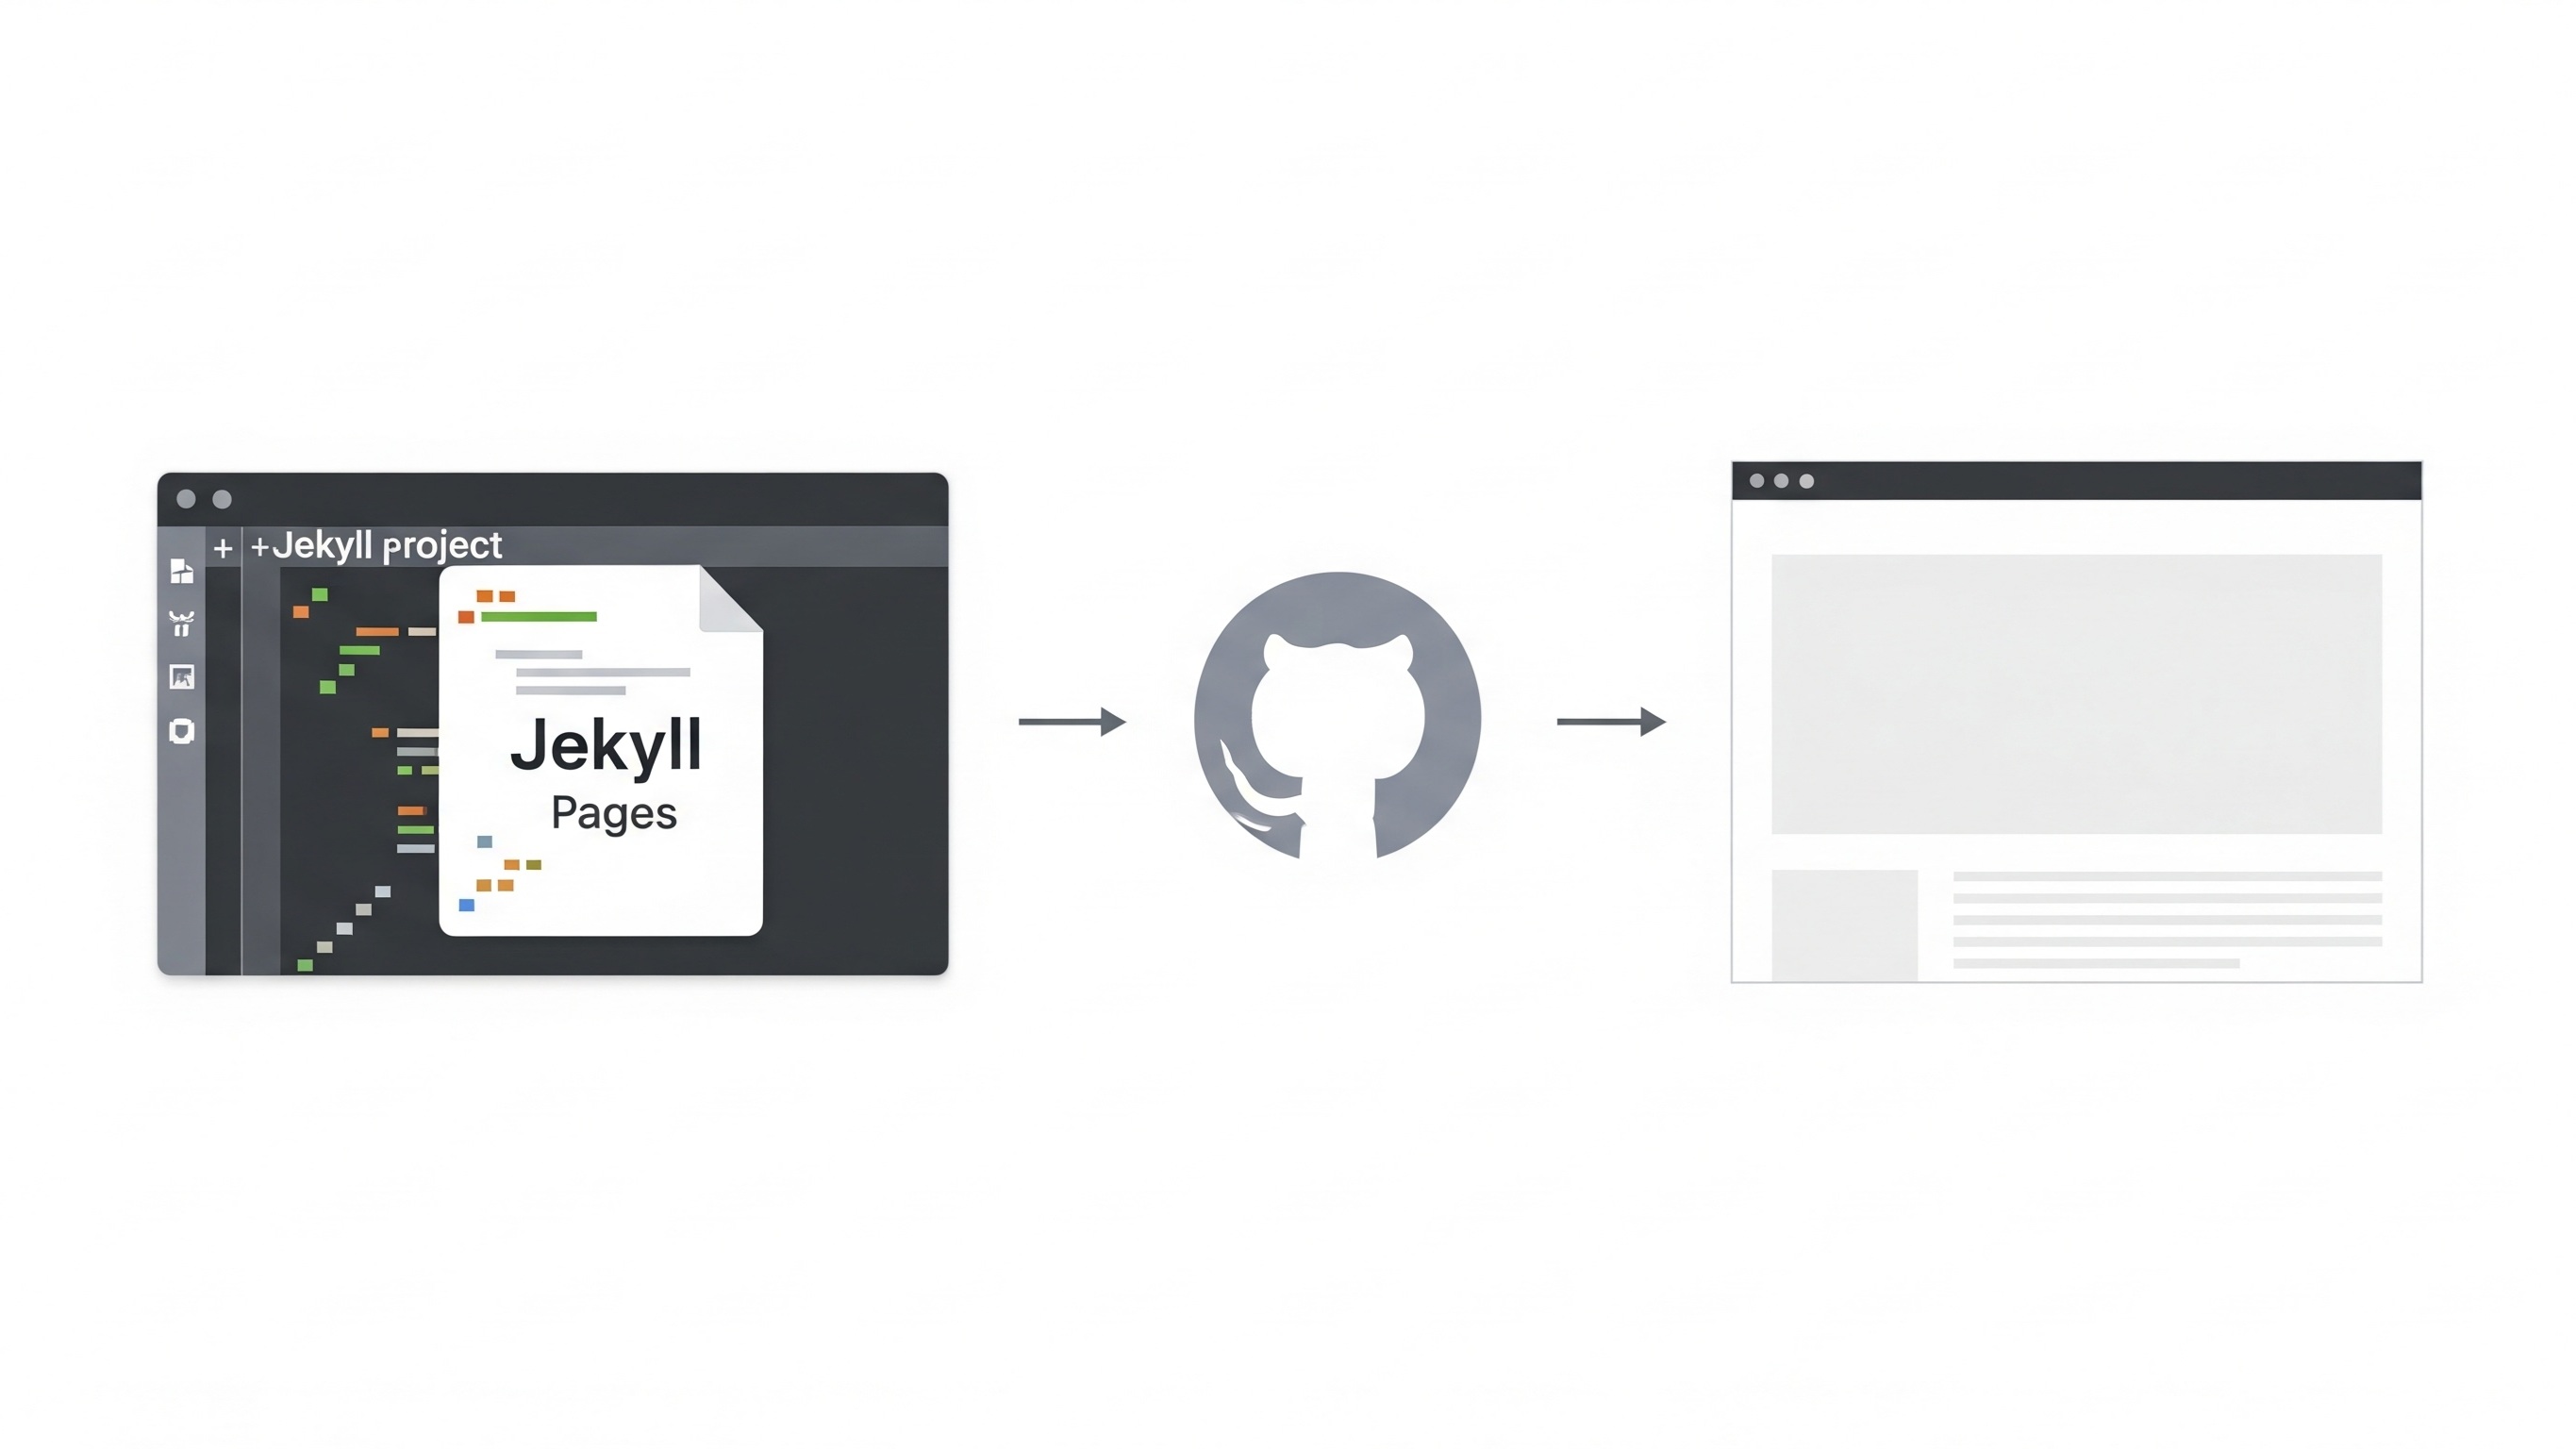
Working with Jekyll and GitHub Pages is incredibly powerful for building static websites, blogs, and documentation. However, directly pushing every small change to your GitHub repository and waiting for GitHub Pages to rebuild can be a slow and frustrating process. This is precisely where a local Jekyll development environment becomes indispensable. By setting up Jekyll on your own machine, you gain the ability to preview changes instantly, debug issues efficiently, and experiment with new features without impacting your live site. This immediate feedback loop significantly accelerates your development workflow, making the entire process much smoother and more enjoyable. It allows for rapid iteration and ensures that your site looks and functions exactly as intended before it ever goes live, saving you valuable time and preventing potential deployment headaches.
Moreover, a local setup provides a safe sandbox for experimentation. You can try out different themes, plugins, and configurations without fear of breaking your live site. This is particularly useful for complex projects or when collaborating with others. It also means you can work offline, which is a huge advantage if your internet connection is unreliable or you're developing on the go. In essence, a local Jekyll environment transforms the development experience from a series of commit-and-wait cycles into a dynamic, responsive, and efficient workflow.
Essential Prerequisites for Jekyll
Before you can dive into setting up your Jekyll environment, you'll need to ensure you have a few core prerequisites installed on your system. These are fundamental tools that Jekyll relies on to function correctly. Without them, you won't be able to install Jekyll itself or run your site locally. The good news is that these tools are widely used in web development and are relatively straightforward to install across different operating systems. Getting these foundational pieces in place is the critical first step towards a smooth Jekyll development experience.
Ruby and RubyGems
Jekyll is built with Ruby, so having a stable Ruby installation is paramount. RubyGems, Ruby's package manager, is also essential as it's how you'll install Jekyll and its various plugins. Most modern operating systems either come with Ruby pre-installed or provide straightforward ways to install it. However, it's often recommended to use a Ruby version manager like RVM (Ruby Version Manager) or rbenv. These tools allow you to install and manage multiple Ruby versions, which is incredibly useful for isolating project dependencies and avoiding conflicts. Using a version manager ensures that your Jekyll project uses the specific Ruby version it requires, preventing potential compatibility issues down the line. Installing Ruby via these managers also typically includes RubyGems by default, simplifying the process. Always ensure you're using a relatively recent and supported version of Ruby for the best compatibility and performance with Jekyll.
Development Tools
Depending on your operating system, you might need to install some development tools. These tools typically include compilers and other utilities that RubyGems uses when installing certain gems, especially those with native extensions. For macOS users, installing Xcode Command Line Tools is usually sufficient. You can do this by opening your terminal and running xcode-select --install. Windows users might need to install the RubyInstaller Development Kit (DevKit), which provides the necessary build tools. Linux distributions generally have these tools available through their package managers (e.g., build-essential on Debian/Ubuntu or Development Tools group on Fedora/CentOS). These tools are crucial for successfully compiling and installing some of Jekyll's dependencies, ensuring a smooth setup process. Without them, you might encounter compilation errors during gem installation.
Installing Jekyll
Once your prerequisites are in order, installing Jekyll itself is a relatively simple process, handled directly by RubyGems. This command will fetch Jekyll and all its necessary dependencies from the RubyGems repository and install them on your system, making the jekyll command available in your terminal. It's a foundational step that enables you to create new Jekyll sites, build existing ones, and serve them locally for development and testing. The efficiency of RubyGems makes this a quick and painless process, getting you ready to start building in no time.
Using Bundler for Dependency Management
While you can install Jekyll directly, using Bundler is highly recommended, especially for more complex projects or when collaborating. Bundler is a dependency manager that ensures your Jekyll project uses the exact versions of gems it was developed with. This prevents "it works on my machine" issues and ensures consistency across different development environments. First, install Bundler globally: gem install bundler. Then, within your Jekyll project directory, you'll typically have a Gemfile. You'll run bundle install, which reads the Gemfile and installs all the specified gems locally to your project, isolated from your system's global gems. This practice creates a reproducible development environment, crucial for maintaining stability and collaboration on Jekyll sites.
Initial Jekyll Installation
With Ruby and Bundler in place, you can proceed with the Jekyll installation. If you're setting up a brand new Jekyll project, you can use the Jekyll new command: jekyll new my-awesome-site. This command will create a new directory with a basic Jekyll site structure, including a default theme and necessary configuration files. Inside this new directory, a Gemfile will be generated, listing Jekyll and its default dependencies. At this point, navigate into your new project directory: cd my-awesome-site. Then, install the project-specific dependencies by running bundle install. This ensures that all the gems required for your specific Jekyll site are installed and managed correctly by Bundler. If you're working with an existing Jekyll site, simply navigate to its root directory and run bundle install to ensure all its dependencies are met.
Navigating Your Jekyll Project Structure
Understanding the standard Jekyll project structure is key to efficient development. When you create a new Jekyll site or clone an existing one, you'll find a set of directories and files, each serving a specific purpose. Knowing where to put your content, styles, and scripts will streamline your workflow and help you maintain a clean and organized project. This consistent structure is one of Jekyll's strengths, making it easy to jump into any Jekyll project and quickly understand its layout. Familiarity with these conventions empowers you to effectively manage your site's content and design.
Core Directories and Files
The core of a Jekyll site typically includes several important directories and files:
_config.yml: This is the central configuration file for your Jekyll site. It's where you define global settings like the site title, description, permalinks, excluded files, and plugin configurations. Changes here often require restarting the Jekyll server to take effect._posts/: This directory holds your blog posts. Each post is a Markdown file (or HTML) named using theYEAR-MONTH-DAY-title.extformat (e.g.,2025-07-29-my-first-post.md). Jekyll automatically processes these files into individual blog post pages._layouts/: This directory contains the HTML templates for your pages and posts. Layouts define the overall structure and common elements (like headers, footers, and sidebars) that wrap your content. You can have different layouts for different types of content (e.g., a post layout, a page layout)._includes/: This directory is for reusable snippets of code that you can include in your layouts or other pages. Examples include navigation menus, social media links, or contact forms. This promotes the DRY (Don't Repeat Yourself) principle._sass/: If you're using Sass (a CSS preprocessor), this directory is where you'll store your.sassor.scssfiles. Jekyll will compile these into standard CSS.assets/or similar: This commonly used directory (though not strictly a Jekyll convention) is where you'd typically store static assets like images, JavaScript files, and compiled CSS.index.mdorindex.html: This is your site's home page.- Other root-level Markdown or HTML files: These will be processed as static pages (e.g.,
about.mdbecomes/about/).
Understanding the purpose of each of these elements is fundamental to building and maintaining a Jekyll site effectively.
Running Your Jekyll Site Locally
With Jekyll installed and your project structure understood, the next crucial step is to run your site locally. This is where you get to see your changes in action, test functionality, and ensure everything looks as expected before deployment. Jekyll provides a built-in development server that makes this process incredibly simple and efficient, offering live reloading so you don't have to manually refresh your browser after every change. This immediate feedback loop is one of the biggest advantages of a local development environment, significantly speeding up your workflow and allowing for rapid iteration.
Starting the Jekyll Development Server
To start your Jekyll development server, navigate to your project's root directory in your terminal and execute the following command:
bundle exec jekyll serveIf you prefer to omit the Bundler prefix, ensure Jekyll is globally available and use: jekyll serve. However, bundle exec is the recommended approach to ensure you're using the gems specified in your Gemfile. Once executed, Jekyll will build your site and start a local web server, typically accessible at http://127.0.0.1:4000 or http://localhost:4000. You'll see output in your terminal indicating the server is running and which address to visit. The --incremental flag (bundle exec jekyll serve --incremental) can often speed up build times by only rebuilding changed files, though it might not always catch all dependencies. For continuous rebuilding on file changes, the --watch flag is implicitly enabled with jekyll serve on most modern Jekyll versions. This means as soon as you save a change to a file in your project, Jekyll will automatically recompile your site, and your browser will refresh (if you have live reload configured or use browser extensions that detect file changes).
Common Server Options
Jekyll's serve command offers several useful options that can customize its behavior:
| Option | Description |
|---|---|
--port [PORT_NUMBER] |
Specifies the port for the server to listen on (default is 4000). E.g., --port 8000. |
--host [IP_ADDRESS] |
Specifies the host IP address to bind to (default is 127.0.0.1). Use --host 0.0.0.0 to make your site accessible from other devices on your local network. |
--drafts |
Publishes posts in the _drafts folder, allowing you to preview unfinished content. |
--future |
Publishes posts with a future date, useful for scheduling content. |
--force-polling |
Forces Jekyll to use polling to monitor for changes, which can be useful in environments where the default file system event monitoring doesn't work (e.g., some network drives or virtual machines). |
--verbose |
Provides more detailed output during the build process, helpful for debugging. |
--config [FILE1,FILE2,...] |
Specifies one or more configuration files to load. Useful for environment-specific configurations. |
These options provide flexibility in how you run and test your Jekyll site, allowing you to tailor the development environment to your specific needs.
Troubleshooting Common Jekyll Issues
While setting up and running Jekyll is generally straightforward, you might encounter some common issues. Knowing how to diagnose and resolve these problems can save you a lot of time and frustration. Many issues stem from environment configurations, dependency conflicts, or minor syntax errors in your Jekyll files. A systematic approach to troubleshooting can quickly pinpoint the root cause and get your development back on track. Remember, the Jekyll community and its extensive documentation are excellent resources when you're stuck.
Dependency Conflicts and Gem Errors
One of the most frequent problems new Jekyll users face involves RubyGems or Bundler dependency conflicts. You might see errors like "Could not find gem 'jekyll' in locally installed gems" or similar messages related to specific gem versions. Here are some steps to address these:
- Run
bundle install: Always ensure you've runbundle installin your project's root directory after cloning a repository or adding new plugins to yourGemfile. - Update Bundler: Sometimes, an outdated Bundler itself can cause issues. Update it with
gem update bundler. - Clean Gem Cache: If you suspect corrupted gems, try cleaning your gem cache:
gem clean. - Delete
Gemfile.lock: If dependency issues persist, you can try deleting yourGemfile.lockfile and then runningbundle installagain. This will force Bundler to resolve all dependencies from scratch, which can sometimes fix complex conflicts. Be cautious with this in production environments. - Check Ruby Version: Ensure your Ruby version is compatible with the Jekyll version you're trying to use. Jekyll has minimum Ruby version requirements. Using a Ruby version manager (RVM/rbenv) helps here.
- Reinstall Gems: If all else fails, you might need to completely uninstall and reinstall Jekyll and related gems. You can use
gem uninstall jekylland then reinstall.
Build Errors and Warnings
Jekyll's build process can sometimes throw errors or warnings that prevent your site from compiling correctly. These often point to syntax issues in your Markdown, Liquid templates, or configuration files.
- Read the Error Message Carefully: Jekyll's error messages are usually quite informative, often indicating the file and line number where the problem occurred.
- Check YAML Front Matter: Missing or malformed YAML front matter (the block at the top of your Markdown or HTML files with three dashes
---) is a common culprit. Ensure it's valid YAML. - Liquid Syntax Errors: If you're using Liquid templating, check for typos in tags (e.g.,
{% if %}instead of{%iff %}) or incorrect filter usage. - Permalinks: Incorrect permalink structures in
_config.ymlor individual post front matter can lead to broken links or pages not being generated as expected. - File Permissions: Ensure Jekyll has the necessary permissions to read and write files in your project directory, especially in output directories.
- Conflicting Plugins: If you've recently added new plugins, they might conflict with existing ones or with Jekyll's core functionality. Try disabling them one by one to identify the culprit.
Server Not Starting or Accessibility Issues
If your Jekyll server isn't starting or you can't access it in your browser, consider these points:
- Port in Use: Another application might be using port 4000. Try running
bundle exec jekyll serve --port 8000to use a different port. - Firewall Issues: Your firewall might be blocking access to the local server. Temporarily disable it to test, or add an exception for the port.
- Host Binding: If you're trying to access your site from another device on your network, ensure you're using
bundle exec jekyll serve --host 0.0.0.0to bind to all available network interfaces. - Incorrect Project Directory: Ensure you are running the
jekyll servecommand from the root directory of your Jekyll project. - Output Directory Conflicts: If you have previously deployed your site, there might be old files in the
_sitedirectory that cause issues. Try deleting the_sitedirectory and rebuilding.
Advanced Jekyll Development Techniques
Once you're comfortable with the basics of local Jekyll development, you can explore more advanced techniques to further enhance your workflow and extend your site's capabilities. These methods allow for greater customization, automation, and efficiency, pushing the boundaries of what you can achieve with a static site generator. From integrating preprocessors to leveraging sophisticated plugins, these approaches can significantly elevate your Jekyll development experience and the quality of your output.
Using Live Reload with BrowserSync
While Jekyll's built-in server offers automatic rebuilding, it doesn't always automatically refresh your browser. BrowserSync is a powerful tool that fills this gap, providing live reloading across multiple devices and synchronized interactions. It watches your files for changes and injects those changes into all connected browsers, offering an incredibly smooth development experience. To integrate BrowserSync, you typically run it alongside Jekyll, pointing it to Jekyll's output directory (_site). You can install it globally via npm: npm install -g browser-sync. Then, after starting your Jekyll server (e.g., on port 4000), you can run browser-sync start --proxy "localhost:4000" --files "_site/*". This sets up a proxy to your Jekyll server and watches the _site directory for changes, automatically reloading your browser whenever Jekyll finishes a rebuild. This significantly speeds up the visual debugging process.
Integrating Asset Pipelines (Gulp/Webpack)
For more complex projects, especially those requiring advanced JavaScript compilation, Sass processing, image optimization, or asset concatenation, integrating a dedicated asset pipeline like Gulp or Webpack can be invaluable. While Jekyll handles basic Sass compilation, these tools offer much greater control and flexibility. You can set up Gulp tasks to compile Sass with advanced features (e.g., autoprefixing), transpile modern JavaScript with Babel, optimize images, or even run linting checks. Webpack is particularly powerful for managing JavaScript modules and their dependencies. By configuring these tools to output optimized assets into your Jekyll project's asset directory, you can streamline your front-end workflow and ensure your site delivers high performance. This setup typically involves running a separate build process for your assets alongside your Jekyll build.
Leveraging Jekyll Plugins and Gems
Jekyll's plugin ecosystem is vast and extends its functionality significantly. You can find plugins for everything from generating sitemaps and RSS feeds (jekyll-sitemap, jekyll-feed) to adding search capabilities (Jekyll-based search plugins) or even interacting with external APIs. Custom plugins can also be written in Ruby to address specific project needs. To use a plugin, you typically add it to your Gemfile and your _config.yml file. For instance, to use jekyll-sitemap, you'd add gem 'jekyll-sitemap' to your Gemfile and then add jekyll-sitemap under the plugins: key in your _config.yml. Remember that GitHub Pages only supports a limited set of Jekyll plugins for security reasons. For unsupported plugins, you'll need to build your site locally and push the compiled _site directory to your GitHub Pages repository.
Environment-Specific Configurations
It's often useful to have different configurations for your development and production environments. For example, you might want analytics tracking enabled only in production or different base URLs. Jekyll allows you to manage this using multiple configuration files. You can have a base _config.yml and then override or extend it with environment-specific files, such as _config_development.yml and _config_production.yml. When serving locally, you can specify multiple configuration files using the --config flag: bundle exec jekyll serve --config _config.yml,_config_development.yml. Jekyll will merge these files, with later files overriding earlier ones. For deployment, you can use a similar approach or automate the build process to use the correct configuration based on your deployment environment. This ensures that your site behaves as expected in both local testing and live scenarios.
Best Practices for Jekyll Development
Adopting best practices in your Jekyll development workflow can significantly improve efficiency, maintainability, and the overall quality of your static site. These practices go beyond mere technical setup, encompassing how you structure your content, write your code, and manage your project. By adhering to these guidelines, you can ensure your Jekyll site remains robust, scalable, and easy to manage, whether it's a personal blog or a complex documentation site. Implementing these habits early on will pay dividends as your project grows and evolves.
Version Control with Git
Using Git for version control is non-negotiable for any serious development project, and Jekyll is no exception. Store your entire Jekyll project (excluding the _site directory, which should be added to your .gitignore file) in a Git repository. This allows you to track changes, revert to previous versions, collaborate with others seamlessly, and manage different branches for features or bug fixes. GitHub Pages itself is built on Git, making it a natural fit for Jekyll projects. Regularly committing your changes with meaningful messages ensures you have a clear history of your development. This practice is crucial for both individual projects and team collaboration, providing a safety net and a clear audit trail of all modifications.
Organizing Content and Assets
A well-organized project structure is vital for long-term maintainability. Keep your content files (Markdown for posts and pages) in their respective, clearly named directories (e.g., _posts, root for pages). Organize your static assets (images, JavaScript, CSS) logically. A common pattern is to use an assets/ directory with subdirectories like assets/images/, assets/css/, and assets/js/. Consistent naming conventions for files and directories will make it easier to locate and manage your site's resources. Avoid dumping everything into the root directory; a thoughtful organization will prevent your project from becoming a cluttered mess as it grows.
Optimizing for Performance and SEO
Since Jekyll generates static HTML, it's inherently fast, but you can further optimize for performance and search engine optimization (SEO):
- Image Optimization: Compress images to reduce file sizes without sacrificing quality. Use appropriate formats (e.g., WebP for modern browsers, JPEG for photos, PNG for graphics). Consider responsive images using HTML's
srcsetattribute. - Minify Assets: Minify your HTML, CSS, and JavaScript files to remove unnecessary characters and reduce file sizes. Jekyll plugins or external tools (like Gulp/Webpack) can automate this.
- Browser Caching: Configure your web server (or GitHub Pages, if applicable) to leverage browser caching for static assets.
- Semantic HTML: Use semantic HTML tags (
<nav>,<article>,<section>, etc.) for better structure and SEO. - Meta Tags: Ensure accurate and descriptive
<title>tags and<meta name="description">for each page and post. Consider Open Graph and Twitter Card meta tags for social media sharing. - Structured Data: Implement structured data (Schema.org markup) to provide search engines with more context about your content.
- Clean URLs: Use human-readable and SEO-friendly permalinks for your posts and pages (e.g.,
/blog/post-title/). - Sitemap and RSS Feed: Use Jekyll plugins (like
jekyll-sitemapandjekyll-feed) to automatically generate a sitemap (for search engines) and an RSS feed (for subscribers).
Regularly Update Jekyll and Gems
Keep your Jekyll installation and its associated gems updated. New versions often include performance improvements, bug fixes, and new features. You can update your gems using bundle update in your project directory. However, be cautious when updating major versions, as they might introduce breaking changes. Always test updates in your local development environment before deploying to production. Regularly updating ensures compatibility, security, and access to the latest functionalities.
Conclusion
Setting up a robust local Jekyll development environment is a fundamental step toward efficient and enjoyable static site building. By following the guidelines outlined in this article, you can establish a powerful workflow that allows for rapid iteration, thorough testing, and confident deployment to platforms like GitHub Pages. From installing the necessary prerequisites and understanding the project structure to running the development server and troubleshooting common issues, each step contributes to a seamless development experience. Moreover, embracing advanced techniques like BrowserSync, asset pipelines, and plugins, along with adhering to best practices in version control, content organization, and performance optimization, will elevate your Jekyll projects to a professional standard. With your local environment finely tuned, you are well-equipped to unlock the full potential of Jekyll, building fast, secure, and easily maintainable websites that stand the test of time.
