In today's digital landscape, having a strong online presence is essential, whether you're a developer showcasing your portfolio, a small business sharing information, or a blogger eager to publish content. While numerous platforms exist for website creation, GitHub Pages combined with Jekyll offers a robust, free, and developer-friendly solution for building static websites. This powerful duo allows you to host your site directly from your GitHub repository, leveraging Markdown for content creation and Jekyll for efficient site generation. But what exactly is the structure of such a site, and how do you get started?
At its core, a Jekyll-powered GitHub Pages site is a collection of files and folders organized in a specific way within a Git repository. Jekyll, a static site generator, takes these source files and transforms them into a complete, ready-to-serve website. GitHub Pages then hosts this generated site, making it accessible to anyone on the internet. This approach offers several advantages, including version control with Git, collaborative development, and the inherent security and speed of static websites.
Understanding the underlying structure is crucial for effectively managing and expanding your website. It dictates where your content goes, how your styles are applied, and how Jekyll processes your files. Let's delve into the key components that make up a Jekyll-powered GitHub Pages site.
What are the core components of a Jekyll site?
A Jekyll site, at its most fundamental level, consists of several key directories and files that Jekyll uses to build your website. Each plays a specific role in the content generation and styling process. Knowing these components will empower you to organize your project effectively and troubleshoot any issues that may arise.
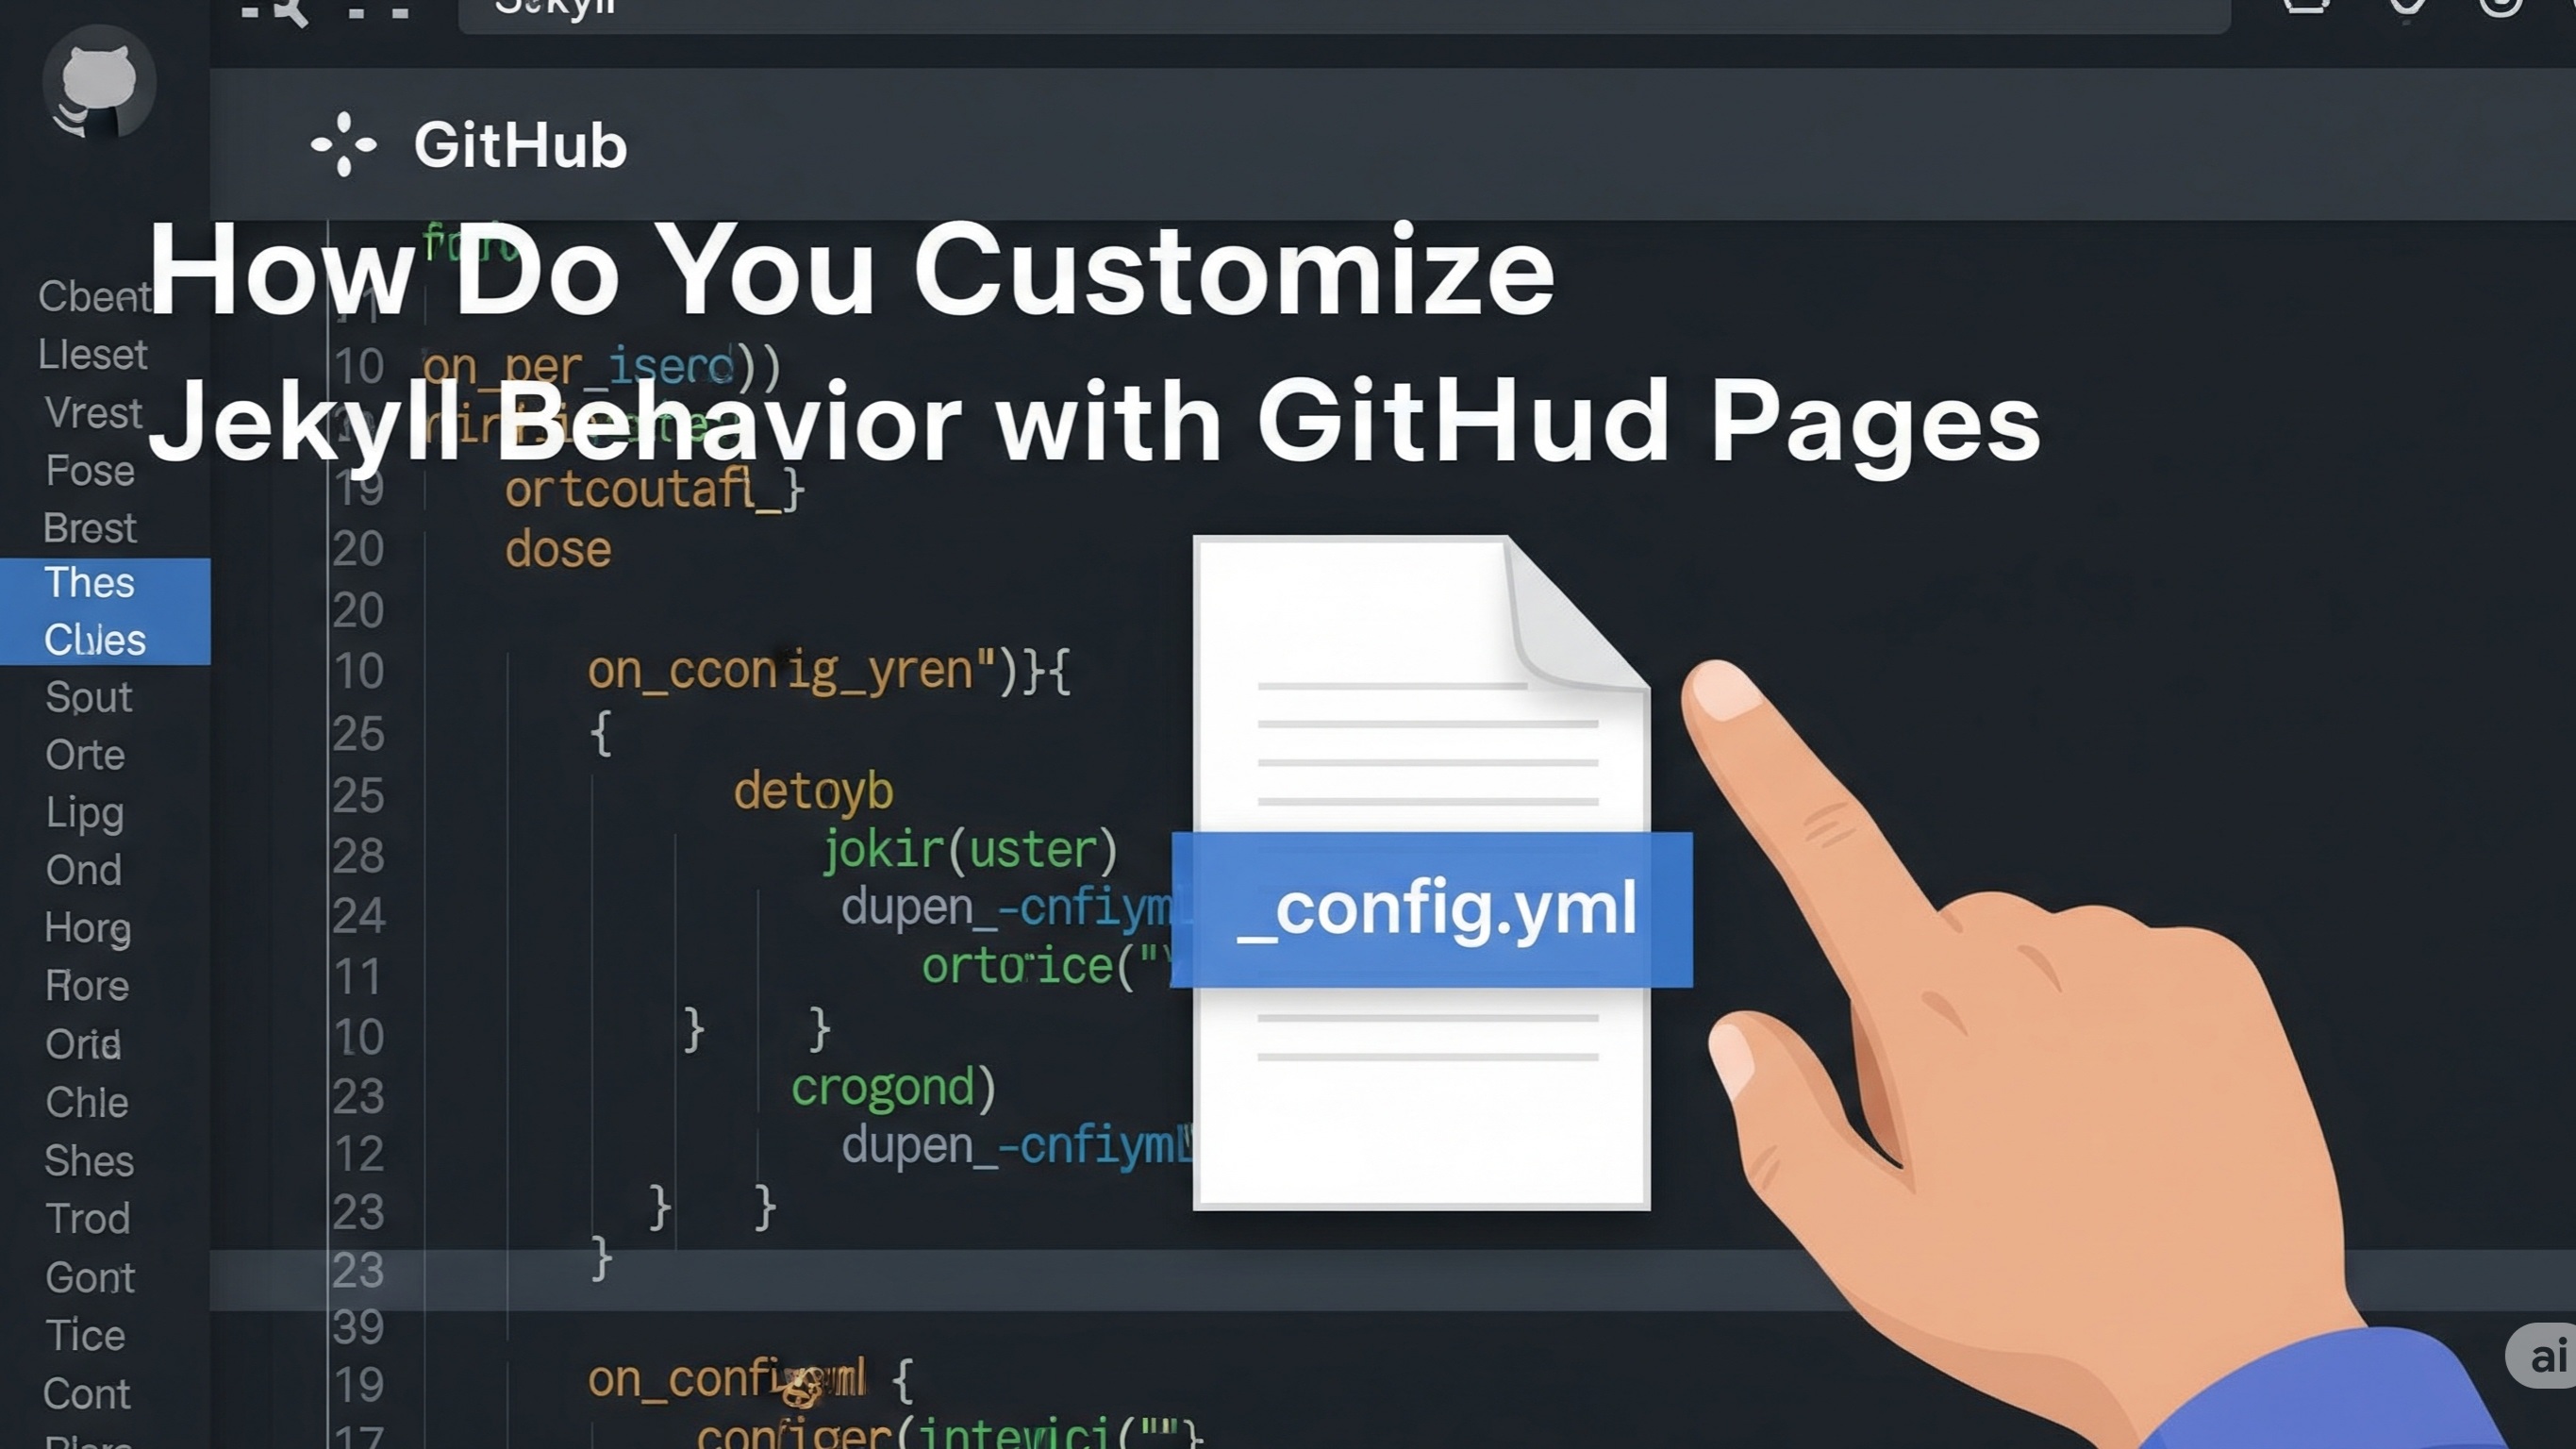
Configuration File: _config.yml
The _config.yml file is the heart of your Jekyll site. It's a YAML (YAML Ain't Markup Language) file that contains global configuration settings for your project. This includes everything from your site's title and description to the theme you're using, permalink structures, and even variables you can use throughout your templates. Here's a glimpse of what you might find in a _config.yml file:
title: My Awesome Website
description: A blog about web development and technology.
baseurl: "/my-project" # the subpath of your site, e.g. /blog
url: "https://yourusername.github.io" # the base hostname & protocol for your site
permalink: /:categories/:year/:month/:day/:title/
markdown: kramdown
theme: minima
plugins:
 * jekyll-feed
 * jekyll-sitemap
Changes to this file often require restarting the Jekyll server for them to take effect. It's an essential file to understand as it dictates much of your site's behavior and appearance.
Content Directories: _posts, _pages, and Custom Collections
The content of your Jekyll site is typically organized into specific directories. Jekyll is designed to process Markdown files, making content creation straightforward and efficient.
_posts Directory
This directory is where all your blog posts reside. Each post is a Markdown file (e.g., YYYY-MM-DD-your-post-title.md) with a specific naming convention that includes the date. This convention is crucial for Jekyll to correctly sort and display your posts chronologically. Each post file also includes "front matter" at the top, which is a block of YAML that provides metadata about the post, such as its title, author, and categories.
layout: post title: "My First Blog Post" author: John Doe date: 2023-10-26 10:00:00 +0700 categories: [web development, jekyll] tags: [tutorial, markdown]
This is the content of my first blog post. It's written in Markdown.
A Subheading
You can use various Markdown elements here, like bold text, italic text, and links.
Individual Pages
While there isn't a dedicated _pages directory by default, individual pages (like "About Us," "Contact," or a custom homepage) are typically placed in the root directory of your Jekyll project, or in subdirectories as needed. These are also Markdown files or HTML files, and they can also contain front matter.
layout: page title: About Us permalink: /about/
This is the about us page. We are a team of passionate developers.
Custom Collections
Beyond posts and pages, Jekyll allows you to create custom collections. This is incredibly useful for organizing different types of content that don't fit neatly into the "blog post" category, such as portfolios, projects, or testimonials. To create a custom collection, you'll first define it in your _config.yml file:
collections:
projects:
output: true
permalink: /projects/:path/
team:
output: false
Then, you create a corresponding directory (e.g., _projects) and add your content files within it. Each file in a collection also uses front matter, similar to posts.
Layouts and Includes: _layouts and _includes
To avoid repetition and maintain consistency across your site, Jekyll utilizes layouts and includes. These components define the structure and common elements of your web pages.
_layouts Directory
This directory contains your site's templates. Layouts are reusable HTML files that define the overall structure of a page, including elements like the header, navigation, main content area, and footer. Content from your posts and pages is then "injected" into these layouts. For example, you might have a post.html layout for your blog posts and a page.html layout for static pages.
<!-- _layouts/post.html -->
<!DOCTYPE html>
<html lang="en">
<head>
<meta charset="UTF-8">
<meta name="viewport" content="width=device-width, initial-scale=1.0">
<title>{{ page.title }}</title>
<link rel="stylesheet" href="/assets/css/style.css">
</head>
<body>
<!-- Include the navigation bar -->
{% include nav.html %}
<main>
<h2>{{ page.title }}</h2>
<p>Published on: {{ page.date | date: "%B %d, %Y" }}</p>
{{ content }}
</main>
<!-- Include the footer -->
{% include footer.html %}
</body>
</html>
_includes Directory
The _includes directory holds smaller, reusable snippets of HTML that can be inserted into layouts or other pages. Common examples include navigation bars, footers, social media links, or call-to-action buttons. This promotes modularity and makes it easy to update shared elements across your site.
<!-- _includes/nav.html -->
<nav>
<ul>
<li><a href="/">Home</a></li>
<li><a href="/about/">About</a></li>
<li><a href="/blog/">Blog</a></li>
<li><a href="/contact/">Contact</a></li>
</ul>
</nav>
You then use the {% include filename.html %} Liquid tag to embed these snippets wherever needed.
Styling and Assets: assets Directory
While not a Jekyll-specific directory in the same way as _posts or _layouts, it's common practice to create an assets directory (or similar, like css, js, images) to store your static files. These include:
- CSS files: For styling your website.
- JavaScript files: For interactive elements.
- Images: Logos, photos, and other graphics.
- Fonts: Custom web fonts.
Jekyll copies these files directly to the output site without processing them, making it easy to manage your static resources. You reference them in your layouts and includes using relative paths.
/* assets/css/style.css */
body {
font-family: Arial, sans-serif;
line-height: 1.6;
margin: 0;
padding: 0;
background-color: #f4f4f4;
color: #333;
}
nav ul {
list-style: none;
padding: 0;
background: #333;
text-align: center;
}
nav ul li {
display: inline;
margin-right: 20px;
}
nav ul li a {
color: white;
text-decoration: none;
padding: 15px 0;
display: inline-block;
}
Other Important Files and Directories
Beyond the core components, several other files and directories often appear in a Jekyll project, contributing to its functionality and user experience.
Gemfile and Gemfile.lock
These files are related to RubyGems, the package manager for Ruby. Jekyll itself is a Ruby Gem, and these files manage your project's dependencies. The Gemfile lists the gems your Jekyll project relies on (e.g., jekyll, github-pages), and Gemfile.lock records the exact versions of those gems that were successfully installed. When deploying to GitHub Pages, it's crucial that your Gemfile.lock aligns with the versions GitHub Pages uses to build your site.
.gitignore
If you're using Git for version control (which you should be!), the .gitignore file tells Git which files and directories to ignore when committing changes. For Jekyll, you'll typically want to ignore the _site directory (where the generated website is stored) and potentially other temporary files or directories that shouldn't be part of your repository.
Ignore Jekyll generated site
_site/
Ignore .sass-cache (if using Sass)
.sass-cache/
Ignore .jekyll-cache (for development server)
.jekyll-cache/
Ignore local environment variables
.env
_data Directory
The _data directory allows you to store structured data (in YAML, JSON, or CSV format) that can be accessed and rendered within your Jekyll templates. This is incredibly useful for dynamic content that doesn't fit into individual posts or pages, such as lists of authors, testimonials, or product features. For example, you might have a _data/authors.yml file:
 * name: Jane Doe
   email: [email protected]
   bio: A passionate writer.
 * name: Bob Smith
   email: [email protected]
   bio: An experienced developer.
You can then iterate over this data in your templates:
<ul>
{% for author in site.data.authors %}
<li>{{ author.name }} - {{ author.bio }}</li>
{% endfor %}
</ul>
_plugins Directory
For advanced users, the _plugins directory allows you to extend Jekyll's functionality with custom Ruby plugins. These plugins can add new Liquid tags, filters, generators, or converters, enabling highly customized behavior for your site. Keep in mind that GitHub Pages only supports a limited set of Jekyll plugins. If you need custom plugins, you might need to build your site locally and push the _site directory to GitHub Pages, or use a continuous integration service.
How does Jekyll process these components to build a site?
Jekyll's power lies in its ability to take all these disparate files and directories and compile them into a coherent, static website. This process involves several key steps:
- Reading Configuration: Jekyll first reads your
_config.ymlfile to understand your site's global settings, permalink structures, and any defined collections. - Processing Markdown and HTML: It then parses all your Markdown files (posts, pages, and collection items) and converts them into HTML.
- Applying Layouts: For each piece of content, Jekyll determines which layout to use based on the layout front matter variable. It then injects the rendered HTML content into the {{ content }} placeholder within the chosen layout.
- Including Snippets: Where {% include %} tags are present in your layouts or content, Jekyll pulls in the corresponding files from the
_includesdirectory. - Copying Static Files: Files in your assets directory and any other non-Jekyll-processed files (like .css or .js in the root) are copied directly to the _site directory.
- Generating URLs: Based on your permalink settings in
_config.ymland any permalinks specified in front matter, Jekyll generates the appropriate URLs for all your pages and posts. - Writing to
_site: Finally, all the generated HTML, CSS, JavaScript, and other static assets are written to the _site directory, which is the complete, ready-to-deploy version of your website.
This systematic approach ensures that your website is consistently structured and efficiently generated, providing a fast and reliable user experience.
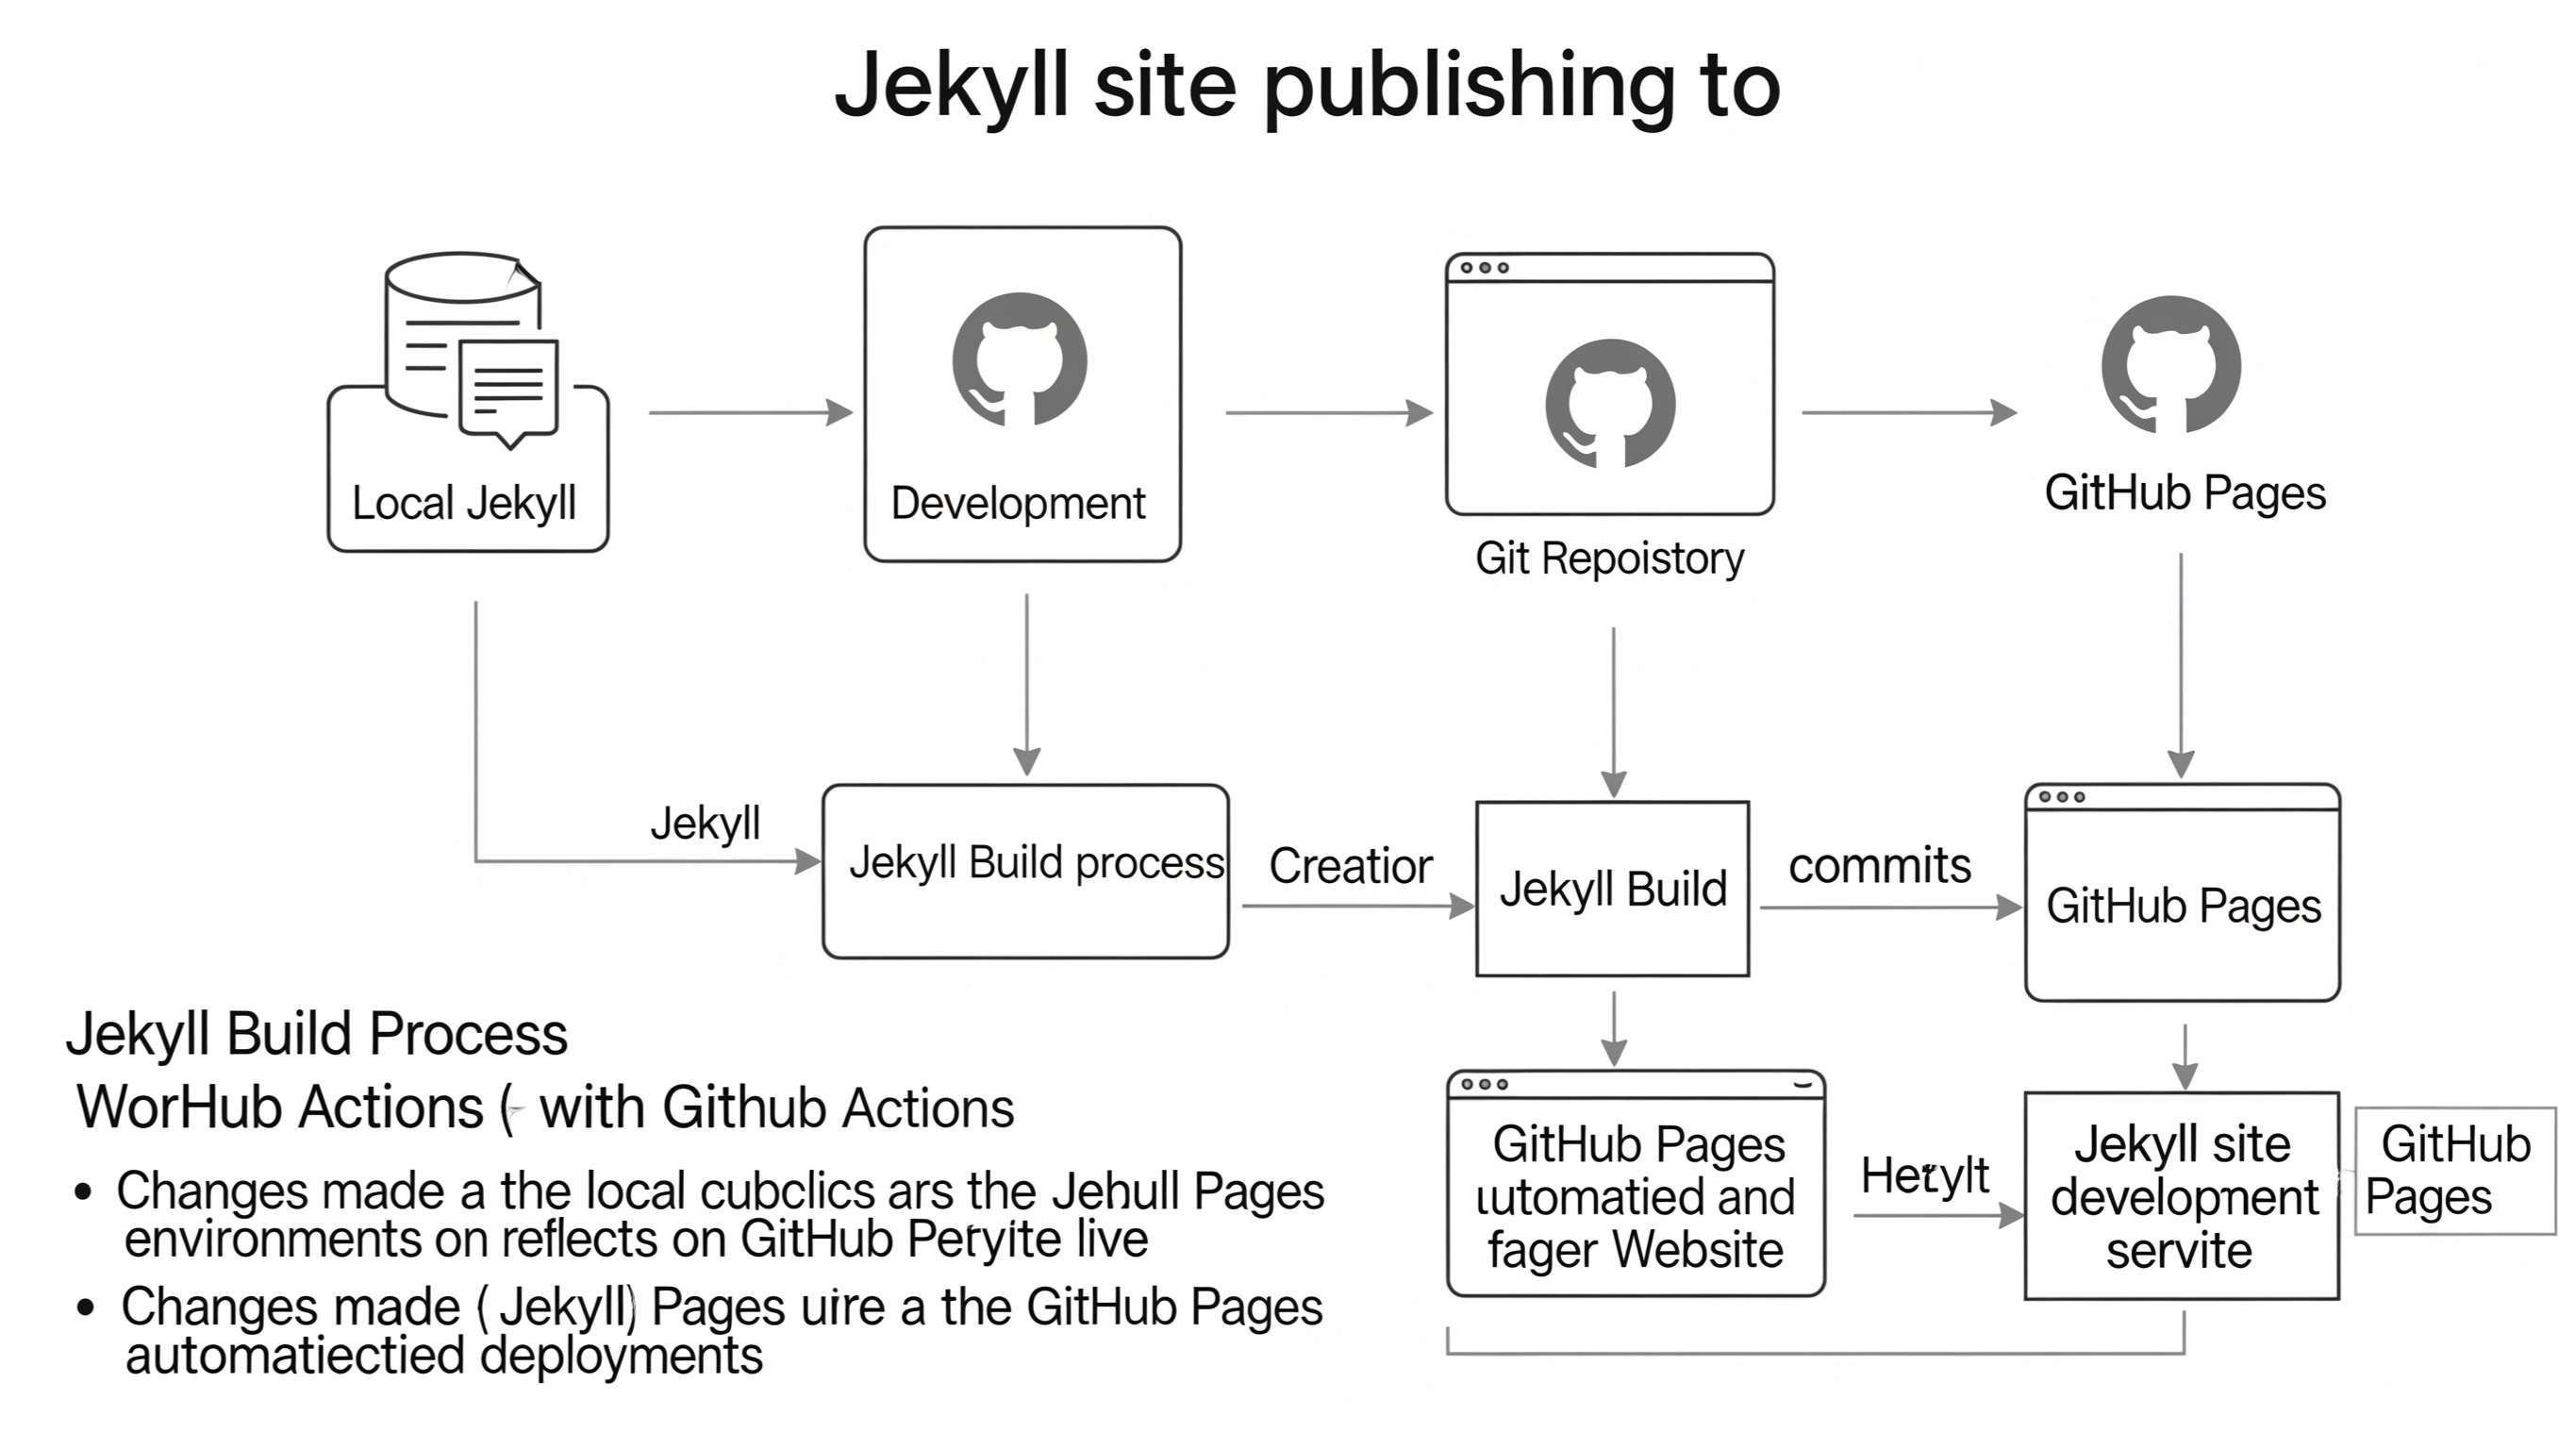
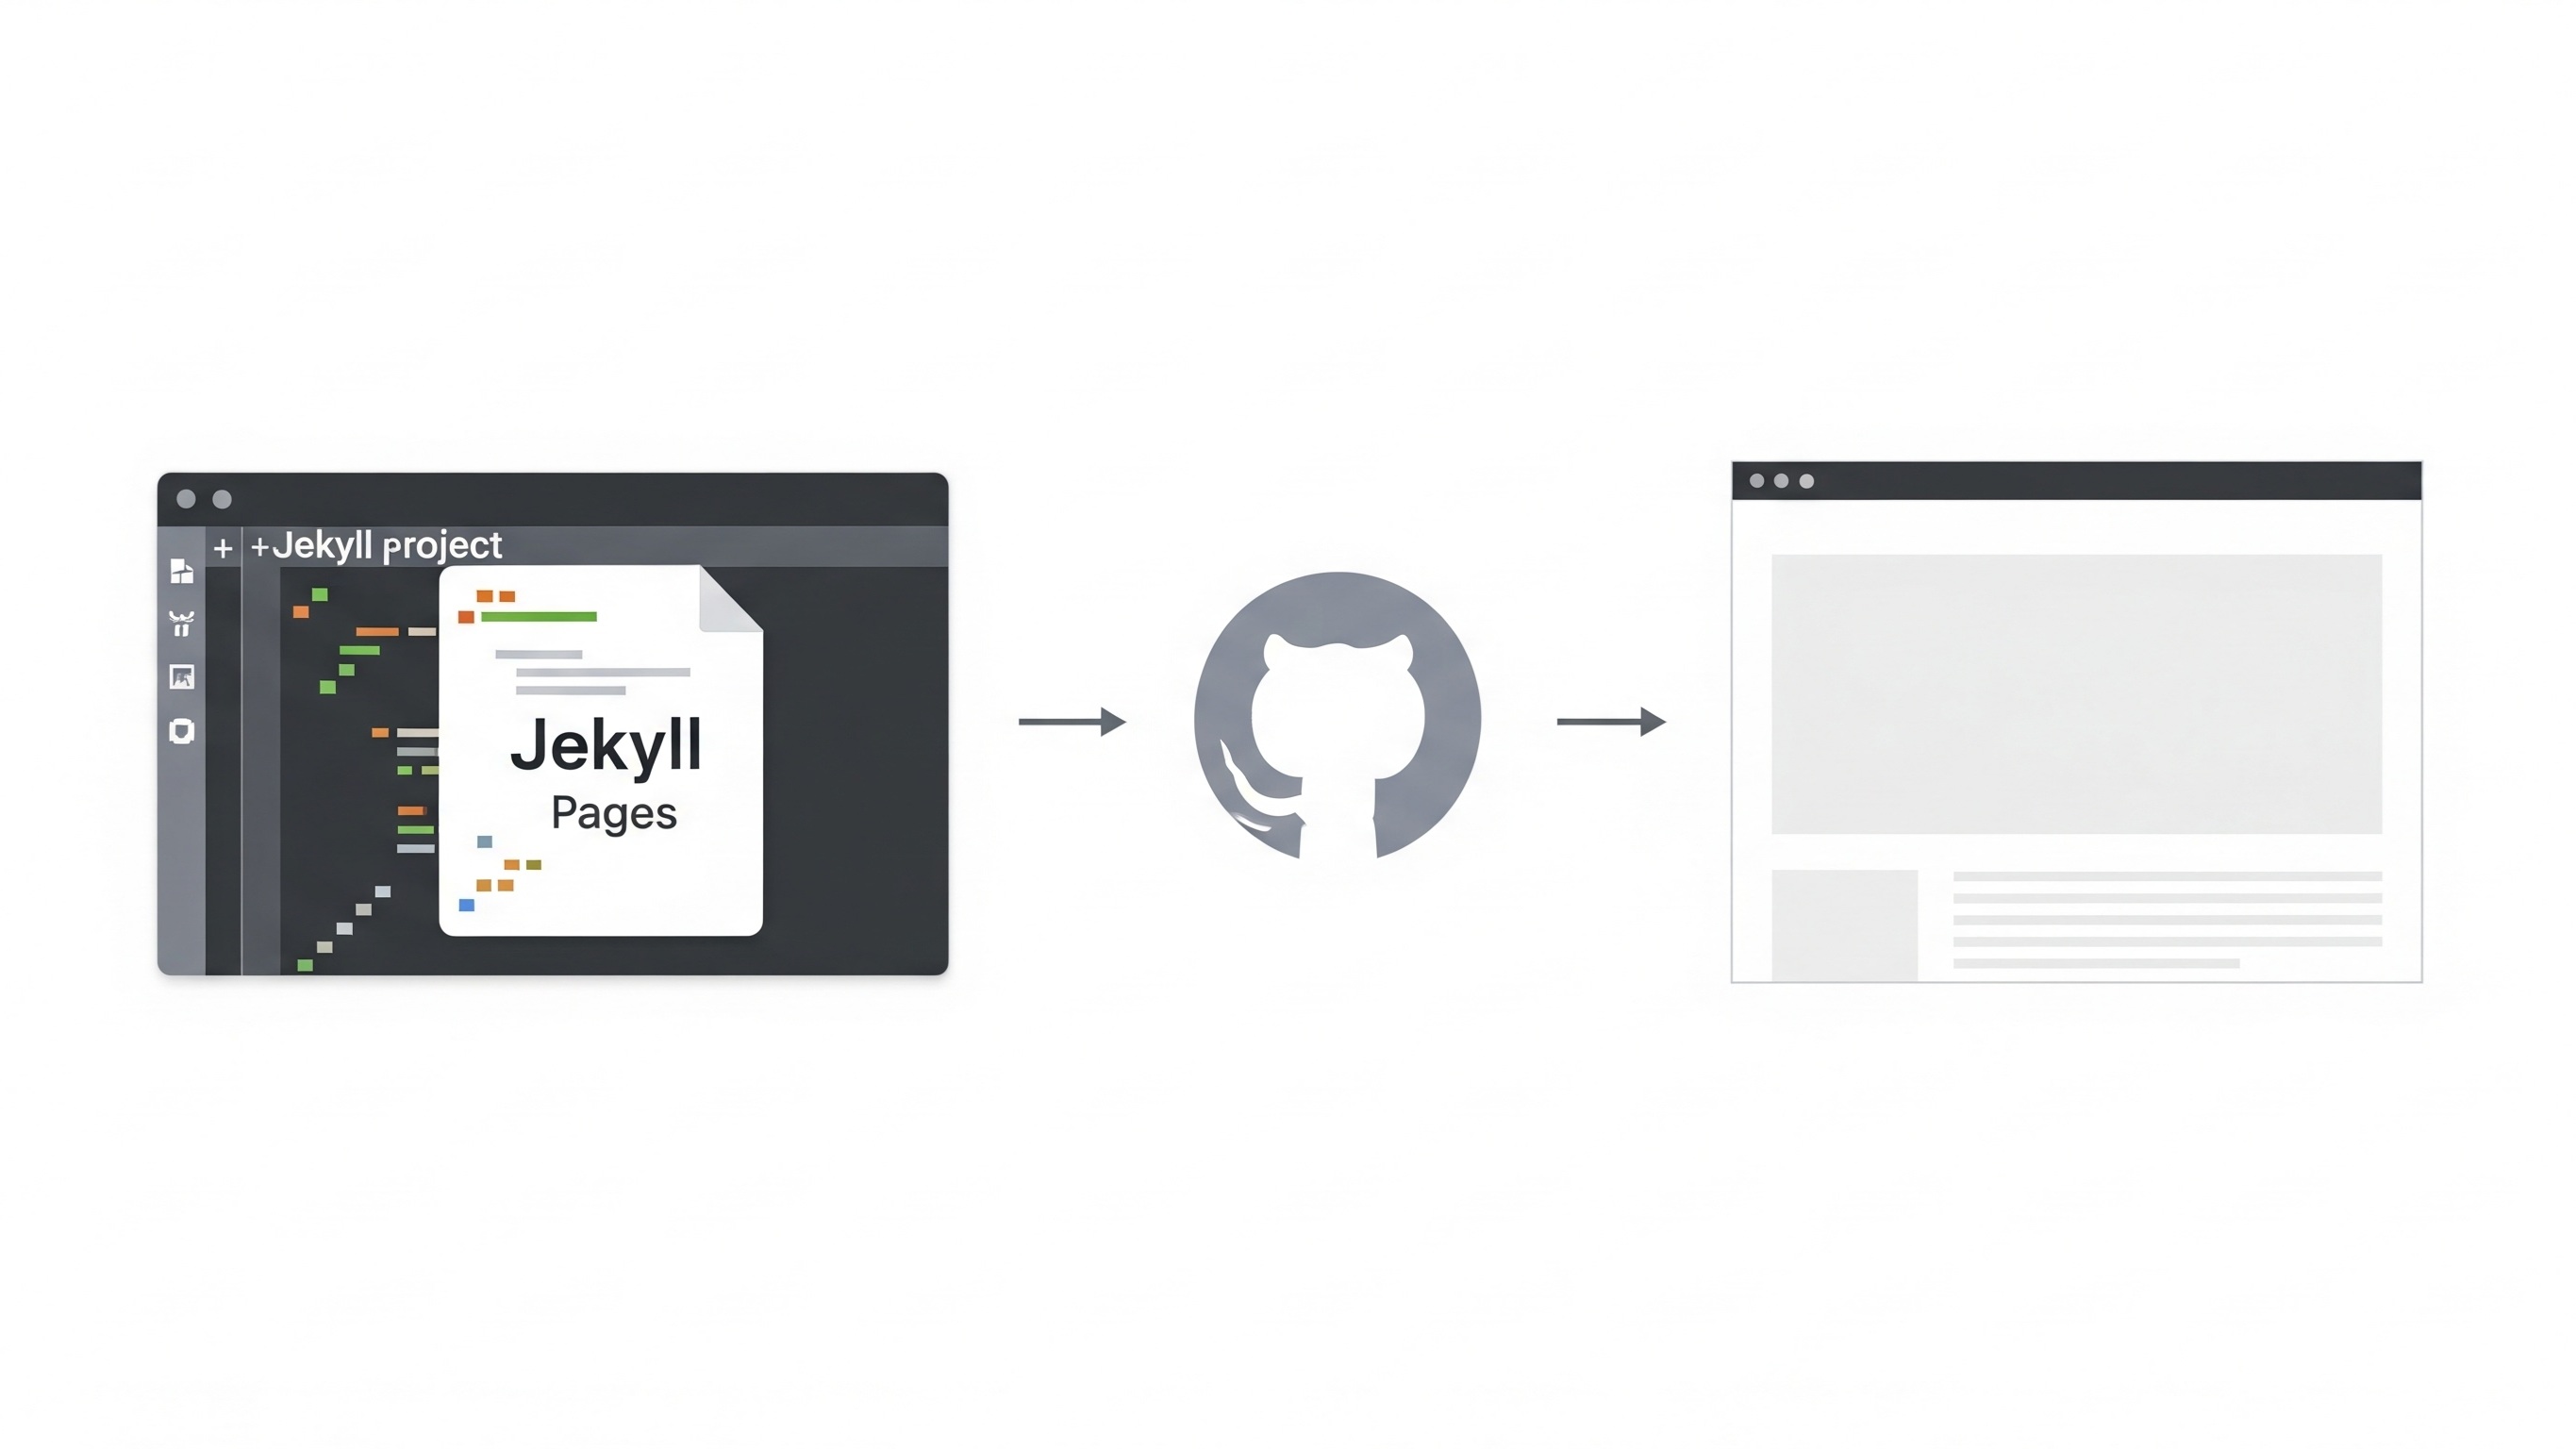
How do GitHub Pages fit into this structure?
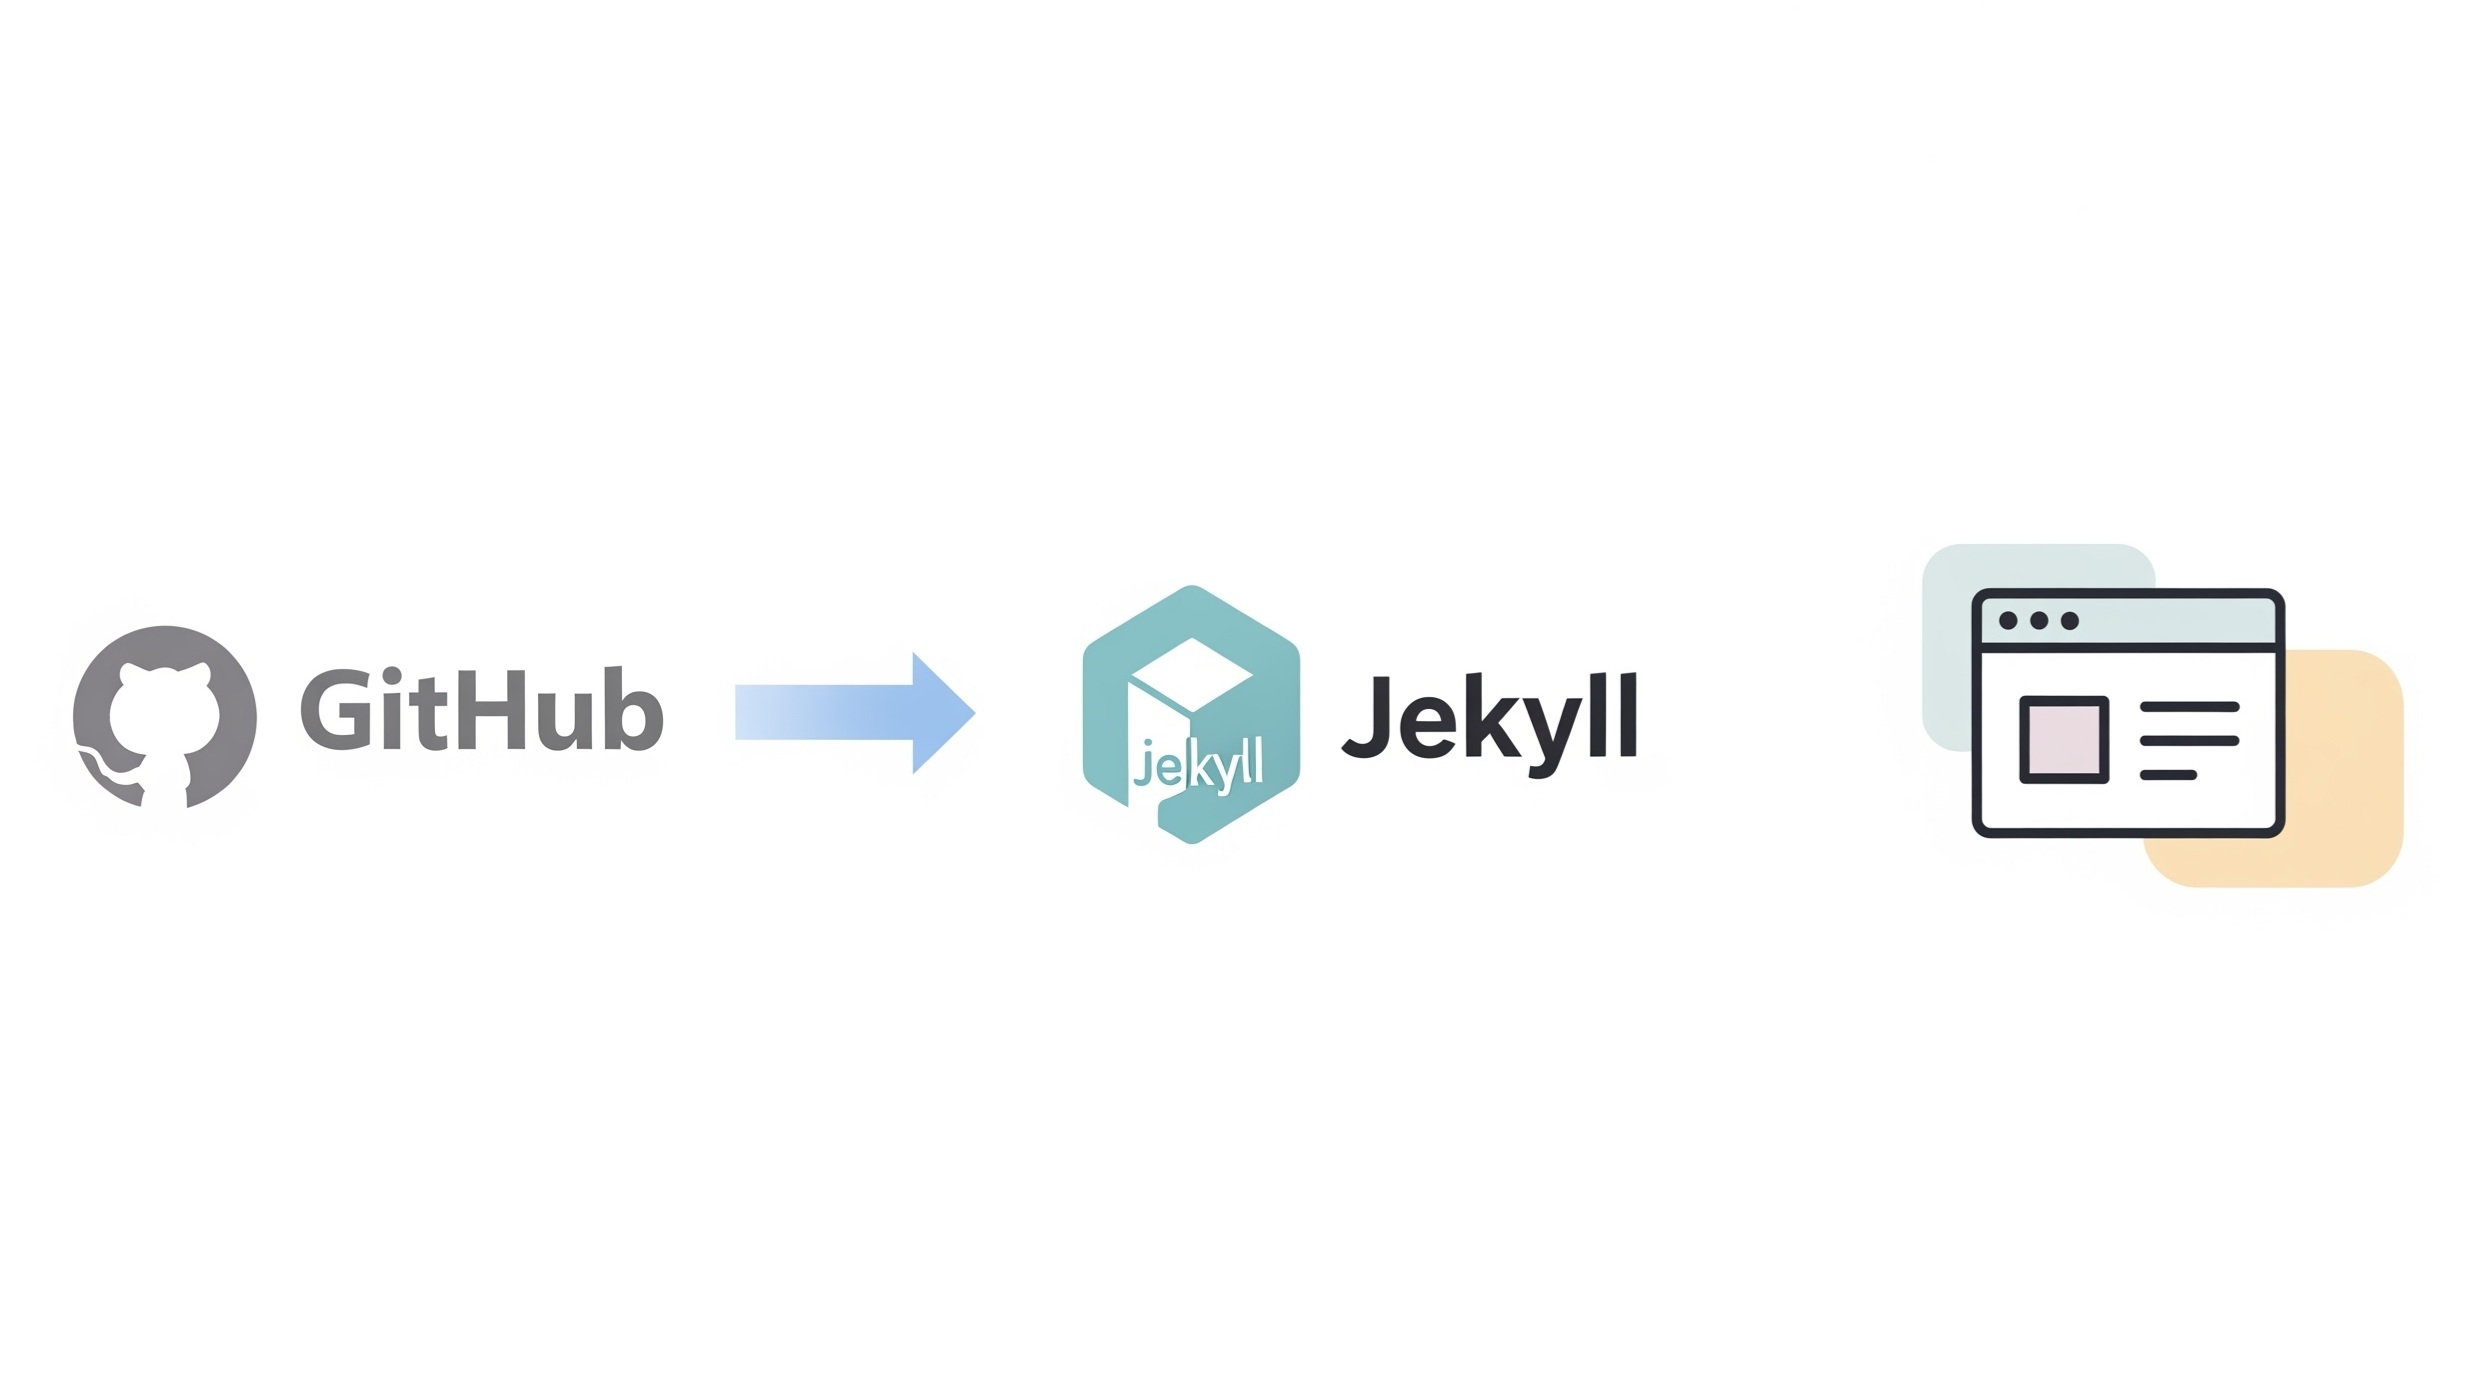
GitHub Pages is a hosting service that directly integrates with GitHub repositories. When you use Jekyll with GitHub Pages, GitHub essentially acts as a build server for your Jekyll project. Here's how it works:
- Repository Setup: You create a GitHub repository for your website. This can be a user/organization site repository (e.g., username.github.io) or a project site repository (e.g., your-repo-name).
- Pushing Your Code: You push your Jekyll project's source files (including _config.yml, _posts, _layouts, assets, etc.) to this GitHub repository.
- Automatic Build: GitHub Pages detects that your repository contains a Jekyll project. It then automatically runs Jekyll on your source files. This means GitHub itself executes the Jekyll build process, converting your Markdown and Liquid templates into static HTML, CSS, and JavaScript.
- Hosting the Output: Once the build is complete, GitHub Pages hosts the generated _site content. The website becomes accessible at a URL determined by your repository name (e.g., https://username.github.io or https://username.github.io/your-repo-name).
This seamless integration means you don't need to manually build your site locally and then upload the _site directory. GitHub Pages handles the deployment process for you, simplifying the workflow and making it ideal for open-source projects, personal portfolios, and blogs.
What are the advantages of using Jekyll with GitHub Pages?
The combination of Jekyll and GitHub Pages offers a compelling set of benefits for various web development needs. Understanding these advantages can help you decide if this is the right solution for your next project.
Free Hosting and Version Control
Perhaps the most significant advantage is the free hosting provided by GitHub Pages. You can host your entire static website without incurring any hosting costs. Coupled with GitHub's robust version control system (Git), you gain the ability to track every change to your website, revert to previous versions, and collaborate seamlessly with others. This is invaluable for maintaining a reliable and well-documented web presence.
Security and Performance of Static Sites
Jekyll generates static HTML, CSS, and JavaScript files. Unlike dynamic websites that rely on databases and server-side scripting (like WordPress or Drupal), static sites are inherently more secure as there's no server-side processing to exploit. They are also incredibly fast because the server simply serves pre-built files, eliminating the need for database queries or complex rendering on each request. This translates to a better user experience and improved search engine rankings.
Developer-Friendly Workflow with Markdown
For developers and content creators comfortable with plain text and version control, Jekyll offers a highly developer-friendly workflow. Content is written in Markdown, a lightweight markup language that is easy to learn and write. This allows you to focus on your content without getting bogged down in complex HTML. The entire site lives in a Git repository, making it easy to manage changes, collaborate with others, and integrate with continuous integration/continuous deployment (CI/CD) pipelines.
Customization and Extensibility
While Jekyll focuses on static site generation, it's highly customizable. You can use Liquid templating language within your layouts and includes to create dynamic content based on your data. You can integrate with various front-end frameworks (like Bootstrap or Tailwind CSS) and JavaScript libraries to add interactivity. For more advanced needs, Jekyll's plugin system allows you to extend its functionality, though it's important to remember GitHub Pages' plugin limitations.
Here's a table summarizing some of these key advantages:
| Feature | Benefit | Impact |
|---|---|---|
| Free Hosting | No cost for web hosting. | Reduces overhead, accessible to everyone. |
| Version Control (Git) | Track changes, collaborate, revert versions. | Improved reliability, team collaboration, easy rollbacks. |
| Static Site Generation | Produces plain HTML, CSS, JS files. | Enhanced security, faster load times, less server-side vulnerabilities. |
| Markdown Content | Easy to write and maintain content. | Streamlined content creation, focus on writing. |
| Customization | Flexible templating and design options. | Unique branding, tailored user experience. |
What are common challenges and considerations?
While Jekyll and GitHub Pages offer a powerful combination, it's important to be aware of potential challenges and considerations before committing to this solution.
No Server-Side Processing
The biggest limitation of static sites is the absence of server-side processing. This means you cannot run dynamic applications that require a database, user authentication, or complex backend logic directly on your Jekyll site. If your project needs features like user logins, e-commerce functionality with real-time inventory, or server-rendered forms that process data, Jekyll alone won't suffice. For these cases, you would need to integrate with third-party services (e.g., form submission services, e-commerce platforms) or consider a different hosting solution.
Dependency on Ruby and Command Line
Jekyll is built with Ruby, and interacting with it often requires some familiarity with the command line interface (CLI). Installing Jekyll, running the development server, and debugging issues typically involve using commands in your terminal. While there are graphical user interfaces (GUIs) for Git, Jekyll itself is primarily a CLI tool. This might be a barrier for users who are not comfortable with command-line operations.
Build Times for Large Sites
For very large websites with thousands of pages or complex processing, Jekyll build times can become significant. While typically fast for smaller to medium-sized sites, a large number of posts, collections, or intricate Liquid logic can slow down the generation process, both locally and on GitHub Pages. This can impact your development workflow and deployment speed. Optimization techniques, such as limiting the number of posts processed during development, can help mitigate this.
Limited Plugin Support on GitHub Pages
As mentioned earlier, GitHub Pages only supports a limited set of Jekyll plugins. If your project requires custom plugins or features provided by unsupported gems, you have two main options: either build your site locally and push the _site directory (which is generally discouraged as it clutters your repository with generated files) or use an external continuous integration/continuous deployment (CI/CD) service like Netlify or Vercel that can run the full Jekyll build process with your custom plugins.
Learning Curve for New Users
While Markdown is simple, getting started with Jekyll itself can involve a learning curve for those new to static site generators, Liquid templating, and the specific directory structure. Understanding front matter, layouts, includes, and how Jekyll processes files requires some initial investment in learning the system. However, once grasped, the efficiency and benefits often outweigh this initial effort.
How can I get started with my own Jekyll-powered GitHub Pages site?
Starting your own Jekyll-powered GitHub Pages site is a straightforward process, especially if you're already familiar with Git and GitHub. Here's a step-by-step guide to help you set up your first project.
Step 1: Install Jekyll
Before you can build a Jekyll site, you need to have Ruby and Jekyll installed on your local machine. If you're on a macOS or Linux system, Ruby is often pre-installed. For Windows, you'll need to use RubyInstaller.
Once Ruby is installed, open your terminal or command prompt and install Jekyll and Bundler (a Ruby gem dependency manager):
gem install jekyll bundler
Step 2: Create a New Jekyll Project
Navigate to the directory where you want to create your project and run the Jekyll new command:
jekyll new my-awesome-site
cd my-awesome-site
This command creates a new Jekyll project with a basic structure, including a default theme (Minima), an _posts directory, _layouts, _includes, and a _config.yml file.
Step 3: Run the Development Server
To see your site locally before deploying it, use the Jekyll serve command:
bundle exec jekyll serve
This will start a local web server, usually accessible at http://localhost:4000. You can now open your web browser and navigate to this address to see your newly created Jekyll site. Jekyll will automatically re-build your site whenever you make changes to the source files, allowing for rapid development.
Step 4: Initialize a Git Repository and Push to GitHub
Now that you have a local Jekyll site, it's time to put it on GitHub. Initialize a Git repository in your project directory:
git init
git add .
git commit -m "Initial Jekyll site"
Next, create a new repository on GitHub (e.g., my-awesome-site or yourusername.github.io for a user site). Do not initialize it with a README, license, or .gitignore. Then, link your local repository to the remote GitHub repository and push your code:
git remote add origin https://github.com/yourusername/your-repo-name.git
git branch -M main
git push -u origin main
Step 5: Configure GitHub Pages
Once your code is on GitHub, navigate to your repository on GitHub. Go to Settings > Pages. Under "Source," select the branch you want to deploy from (usually main or gh-pages) and the folder (usually /(root) or /docs if you've configured it that way). Click "Save." GitHub Pages will then start the build process. After a few moments, your site should be live at the URL provided by GitHub Pages (e.g., https://yourusername.github.io/your-repo-name/ or https://yourusername.github.io/).
Step 6: Start Creating Content
Now that your site is live, you can start creating content. Add new blog posts to the _posts directory, create new pages, or customize your layouts and styles. Each time you push changes to your GitHub repository, GitHub Pages will automatically re-build and deploy your updated site.
Here are some common tasks you might perform:
- Creating a new post: Add a new Markdown file (e.g., 2023-10-27-another-post.md) to your _posts directory.
- Adding a new page: Create a Markdown or HTML file directly in your root directory (e.g., contact.md).
- Modifying styles: Edit the CSS files in your assets/css directory.
- Customizing layouts: Modify the HTML files in your _layouts directory.
By following these steps, you'll have a fully functional Jekyll-powered GitHub Pages site up and running, providing a solid foundation for your online presence. The beauty of this setup is its simplicity for deployment and the robust version control provided by Git, making it an excellent choice for a wide range of web projects.