Why Convert an HTML Project to a Jekyll Site?
Many developers start building websites using pure HTML, CSS, and JavaScript. While this offers complete control, it can become tedious and inefficient for content-heavy sites. You might find yourself copying the same header and footer across multiple pages or manually updating navigation links. This is where Jekyll comes in—a static site generator that simplifies development and maintenance by using templates, includes, and markdown support.
If you're looking to improve your workflow, automate repetitive HTML editing, and host your site for free on GitHub Pages, converting your HTML project into a Jekyll site is a strategic move. This article walks you through the entire process in a structured and beginner-friendly way.
What Do You Need Before Starting the Conversion?
Before diving into the conversion, you should ensure a few prerequisites are in place:
- A working HTML/CSS/JS project (either locally or hosted somewhere)
- Basic understanding of command line usage
- Ruby installed on your machine
- Jekyll and Bundler installed via RubyGems
- A GitHub account (for GitHub Pages deployment)
With these basics covered, you're ready to move your static site into the Jekyll world.
How to Install Jekyll on Your Local Machine?
Follow these steps to set up Jekyll locally:
- Install Ruby: You can use a version manager like RVM or rbenv.
- Update RubyGems: Run
gem update --system - Install Jekyll and Bundler:
gem install jekyll bundler - Create a new Jekyll site:
jekyll new my-site - Navigate to your site folder:
cd my-site - Build and serve:
bundle exec jekyll serve
At this point, you can preview your Jekyll site locally by visiting http://localhost:4000 in your browser.
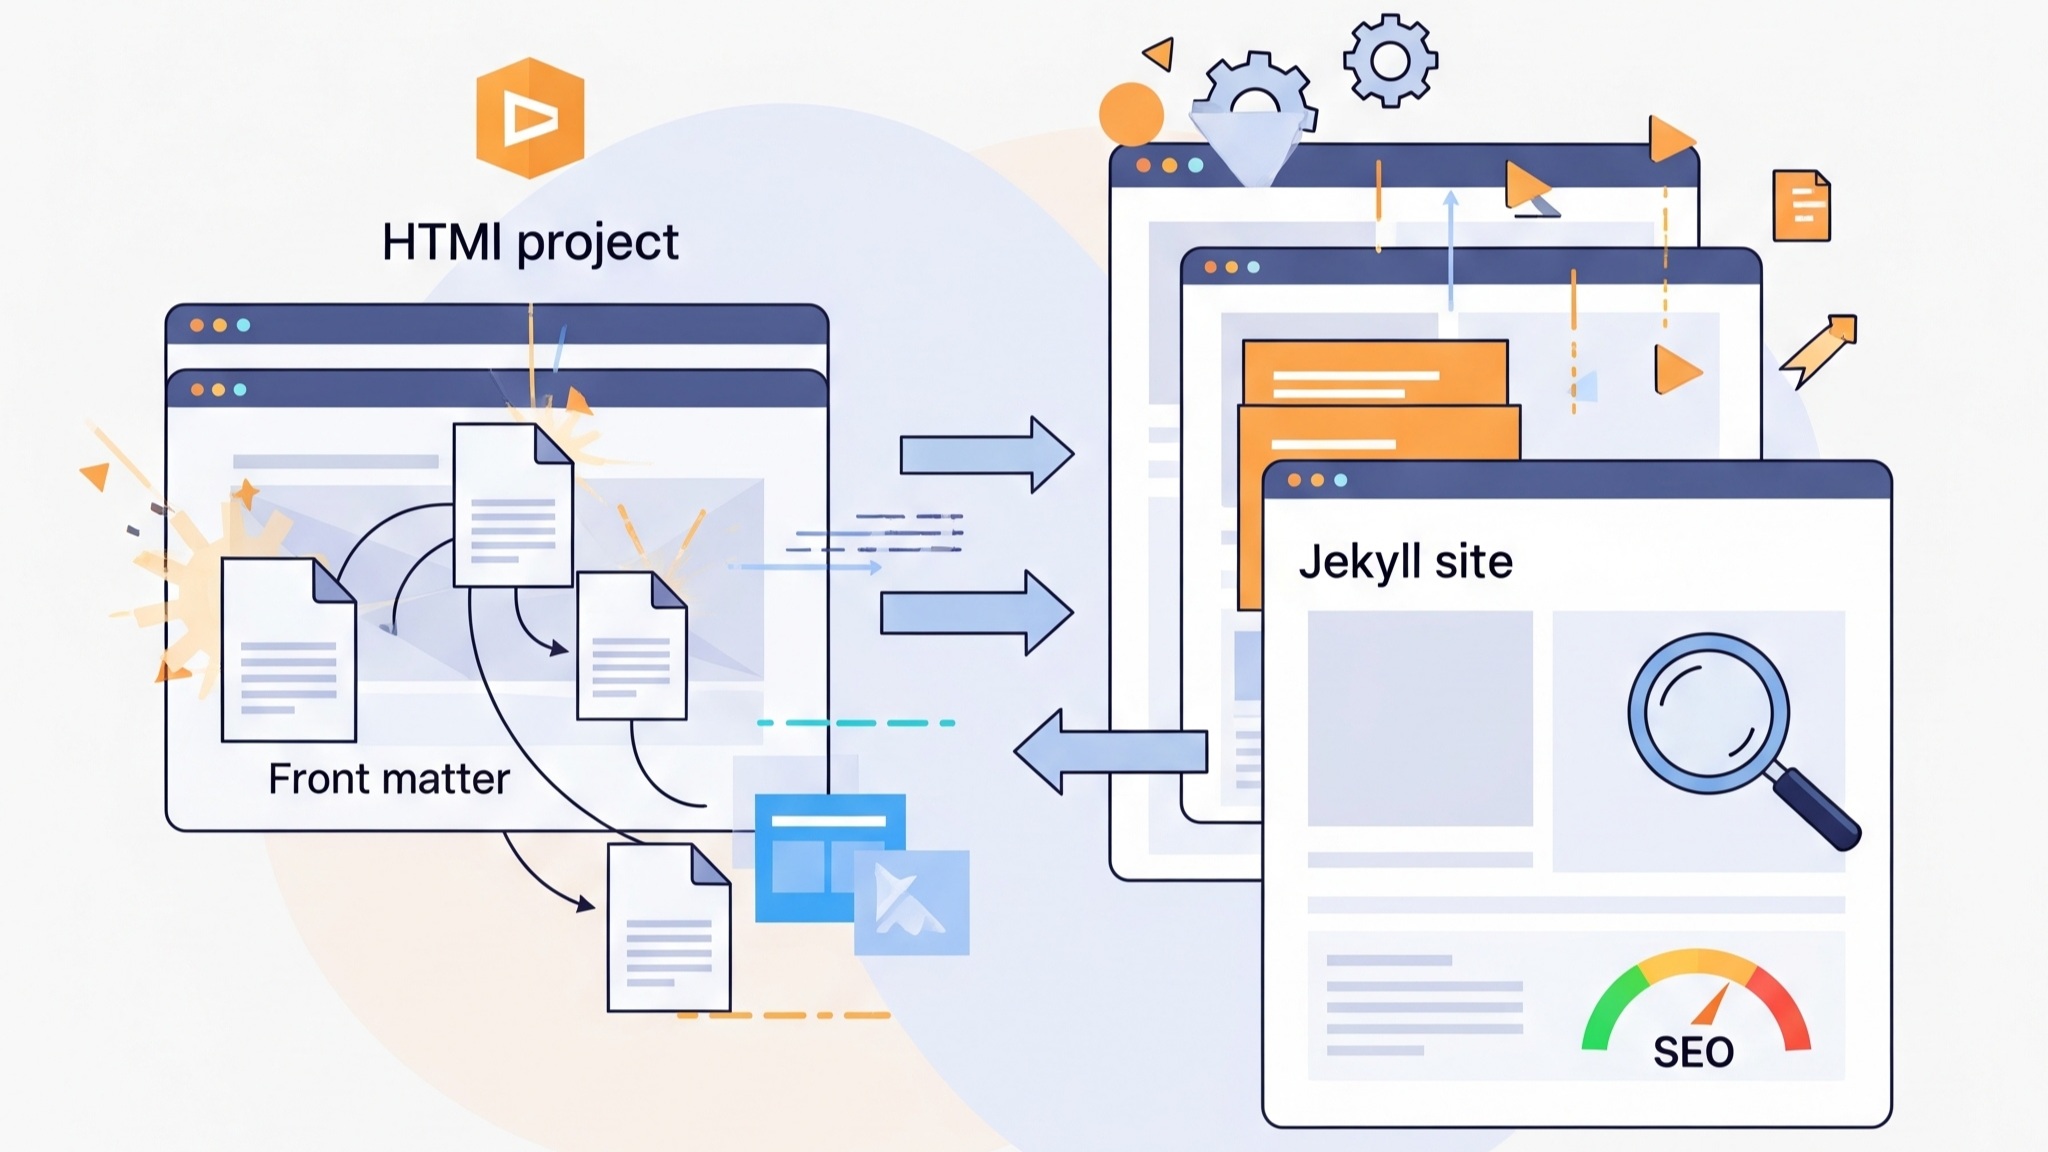
How Do You Transfer HTML Files into a Jekyll Structure?
Start by understanding the default folder structure that Jekyll uses:
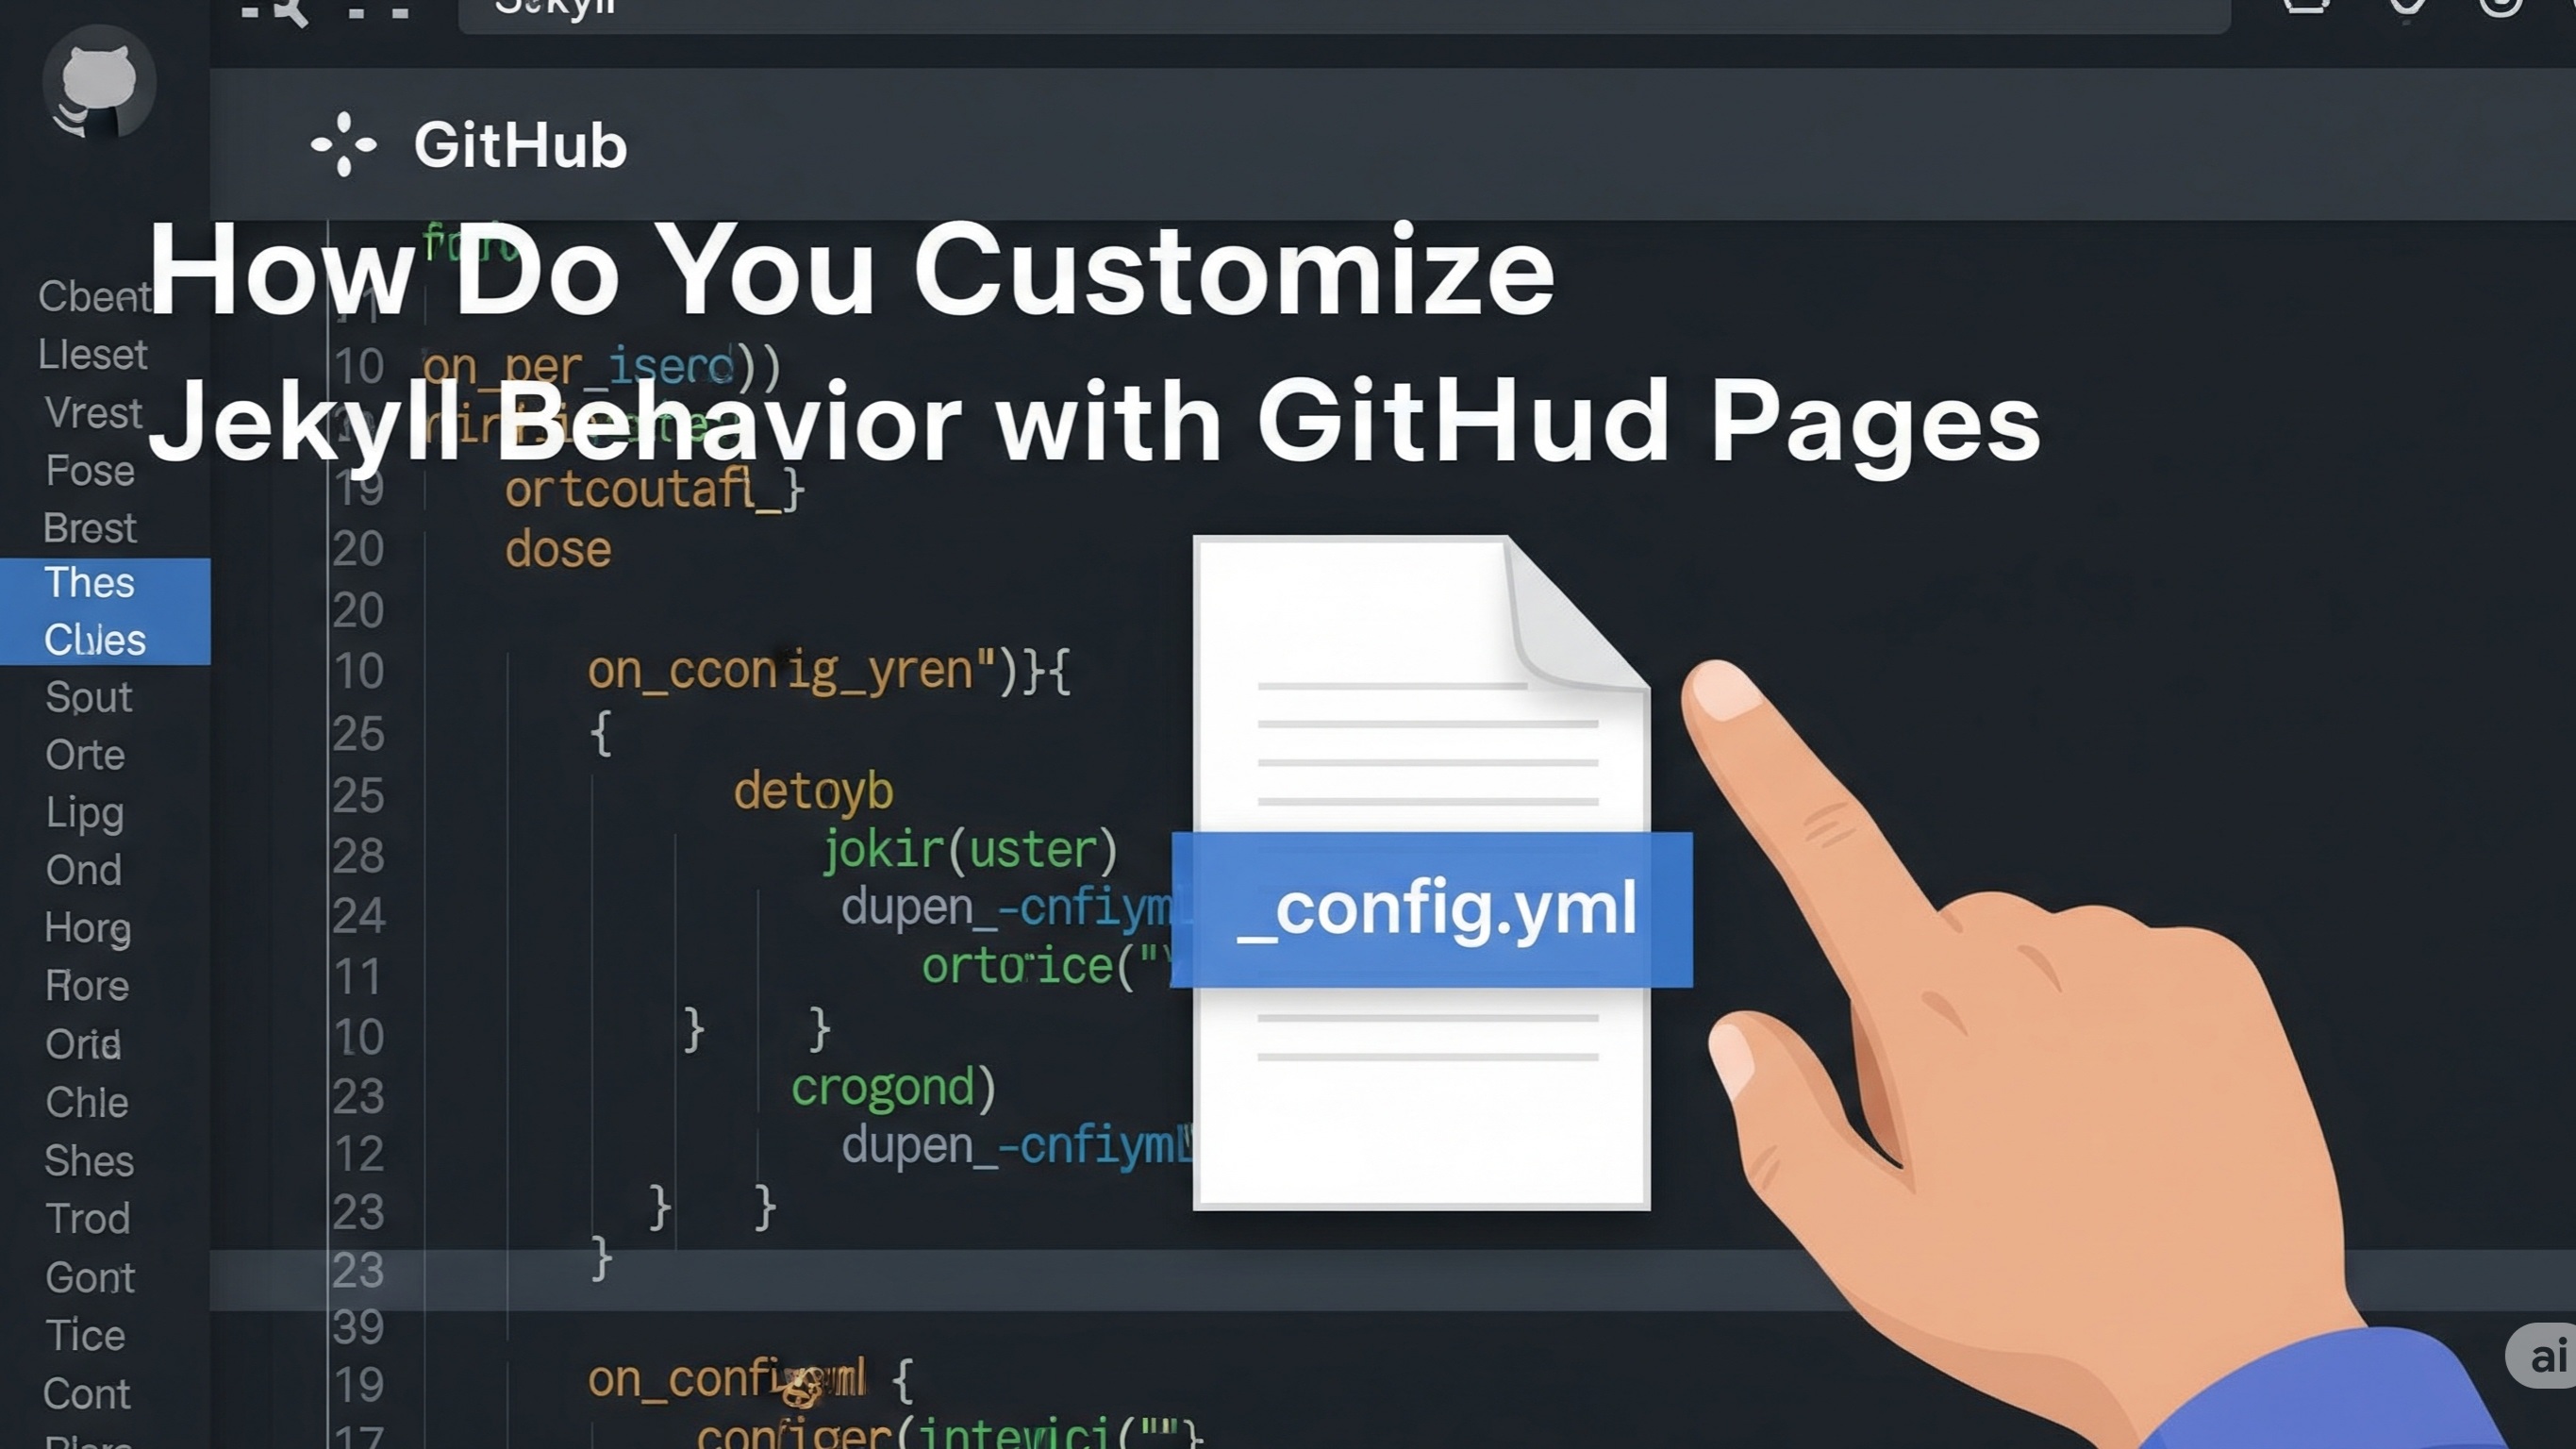
_layouts/: Templates for your site pages_includes/: Reusable chunks of HTML_posts/: Blog articles using Markdown_config.yml: Global configuration fileindex.mdorindex.html: Homepage
Now follow this roadmap:
1. Create a New Layout
Move your original HTML's skeleton (doctype, head, and body wrappers) into a file called default.html inside the _layouts folder. Replace page-specific content with {{ content }}.
2. Use Includes for Repeated Sections
Header, footer, and nav sections that are reused across pages should go into _includes/. For example:
_includes/header.html_includes/footer.html_includes/nav.html
Then in default.html, include them like this:
{% raw %}{% include header.html %}{% endraw %}
{{ content }}
{% raw %}{% include footer.html %}{% endraw %}
3. Convert HTML Pages into Markdown or HTML
Each individual HTML file becomes a page. Move them into the root directory or create a folder like pages/. Add YAML front matter to the top:
---
layout: default
title: About Us
---
<div class="about">...</div>
Alternatively, convert content-heavy pages to Markdown with `.md` extension for simpler edits.
How to Handle CSS, JS, and Images?
All your static assets (stylesheets, scripts, images) should be placed inside the assets/ folder or a custom directory like css/, js/, and images/. Link to them using relative paths or Jekyll’s built-in filters:
<link rel="stylesheet" href="{{ '/css/style.css' | relative_url }}">How Do You Manage Navigation Between Pages?
Instead of hardcoding navigation links in every HTML page, centralize your navigation bar inside _includes/nav.html. Use Liquid tags to dynamically highlight active links or list pages based on front matter data.
Here's a basic example:
<ul>
  <li><a href="{{ '/' | relative_url }}">Home</a></li>
  <li><a href="{{ '/about.html' | relative_url }}">About</a></li>
  <li><a href="{{ '/contact.html' | relative_url }}">Contact</a></li>
</ul>
Can You Reuse Content with Data Files?
Yes, you can centralize content using YAML or JSON data files inside the _data/ folder. For instance, create a team.yml file:
- name: Alice
  role: Designer
- name: Bob
  role: Developer
Then loop through this data in your page:
{% raw %}{% for member in site.data.team %}
  <p>{{ member.name }} - {{ member.role }}</p>
{% endfor %}{% endraw %}
How to Use Collections for Custom Page Types?
Jekyll allows you to define custom collections for structured content like portfolios, products, or services. Define a collection in _config.yml:
collections:
  projects:
    output: true
Create a folder _projects/ and place files with front matter:
---
title: "Landing Page Redesign"
description: "A modern and responsive landing page."
---
Display all items using a loop:
{% raw %}{% for project in site.projects %}
<h3>{{ project.title }}</h3>
<p>{{ project.description }}</p>
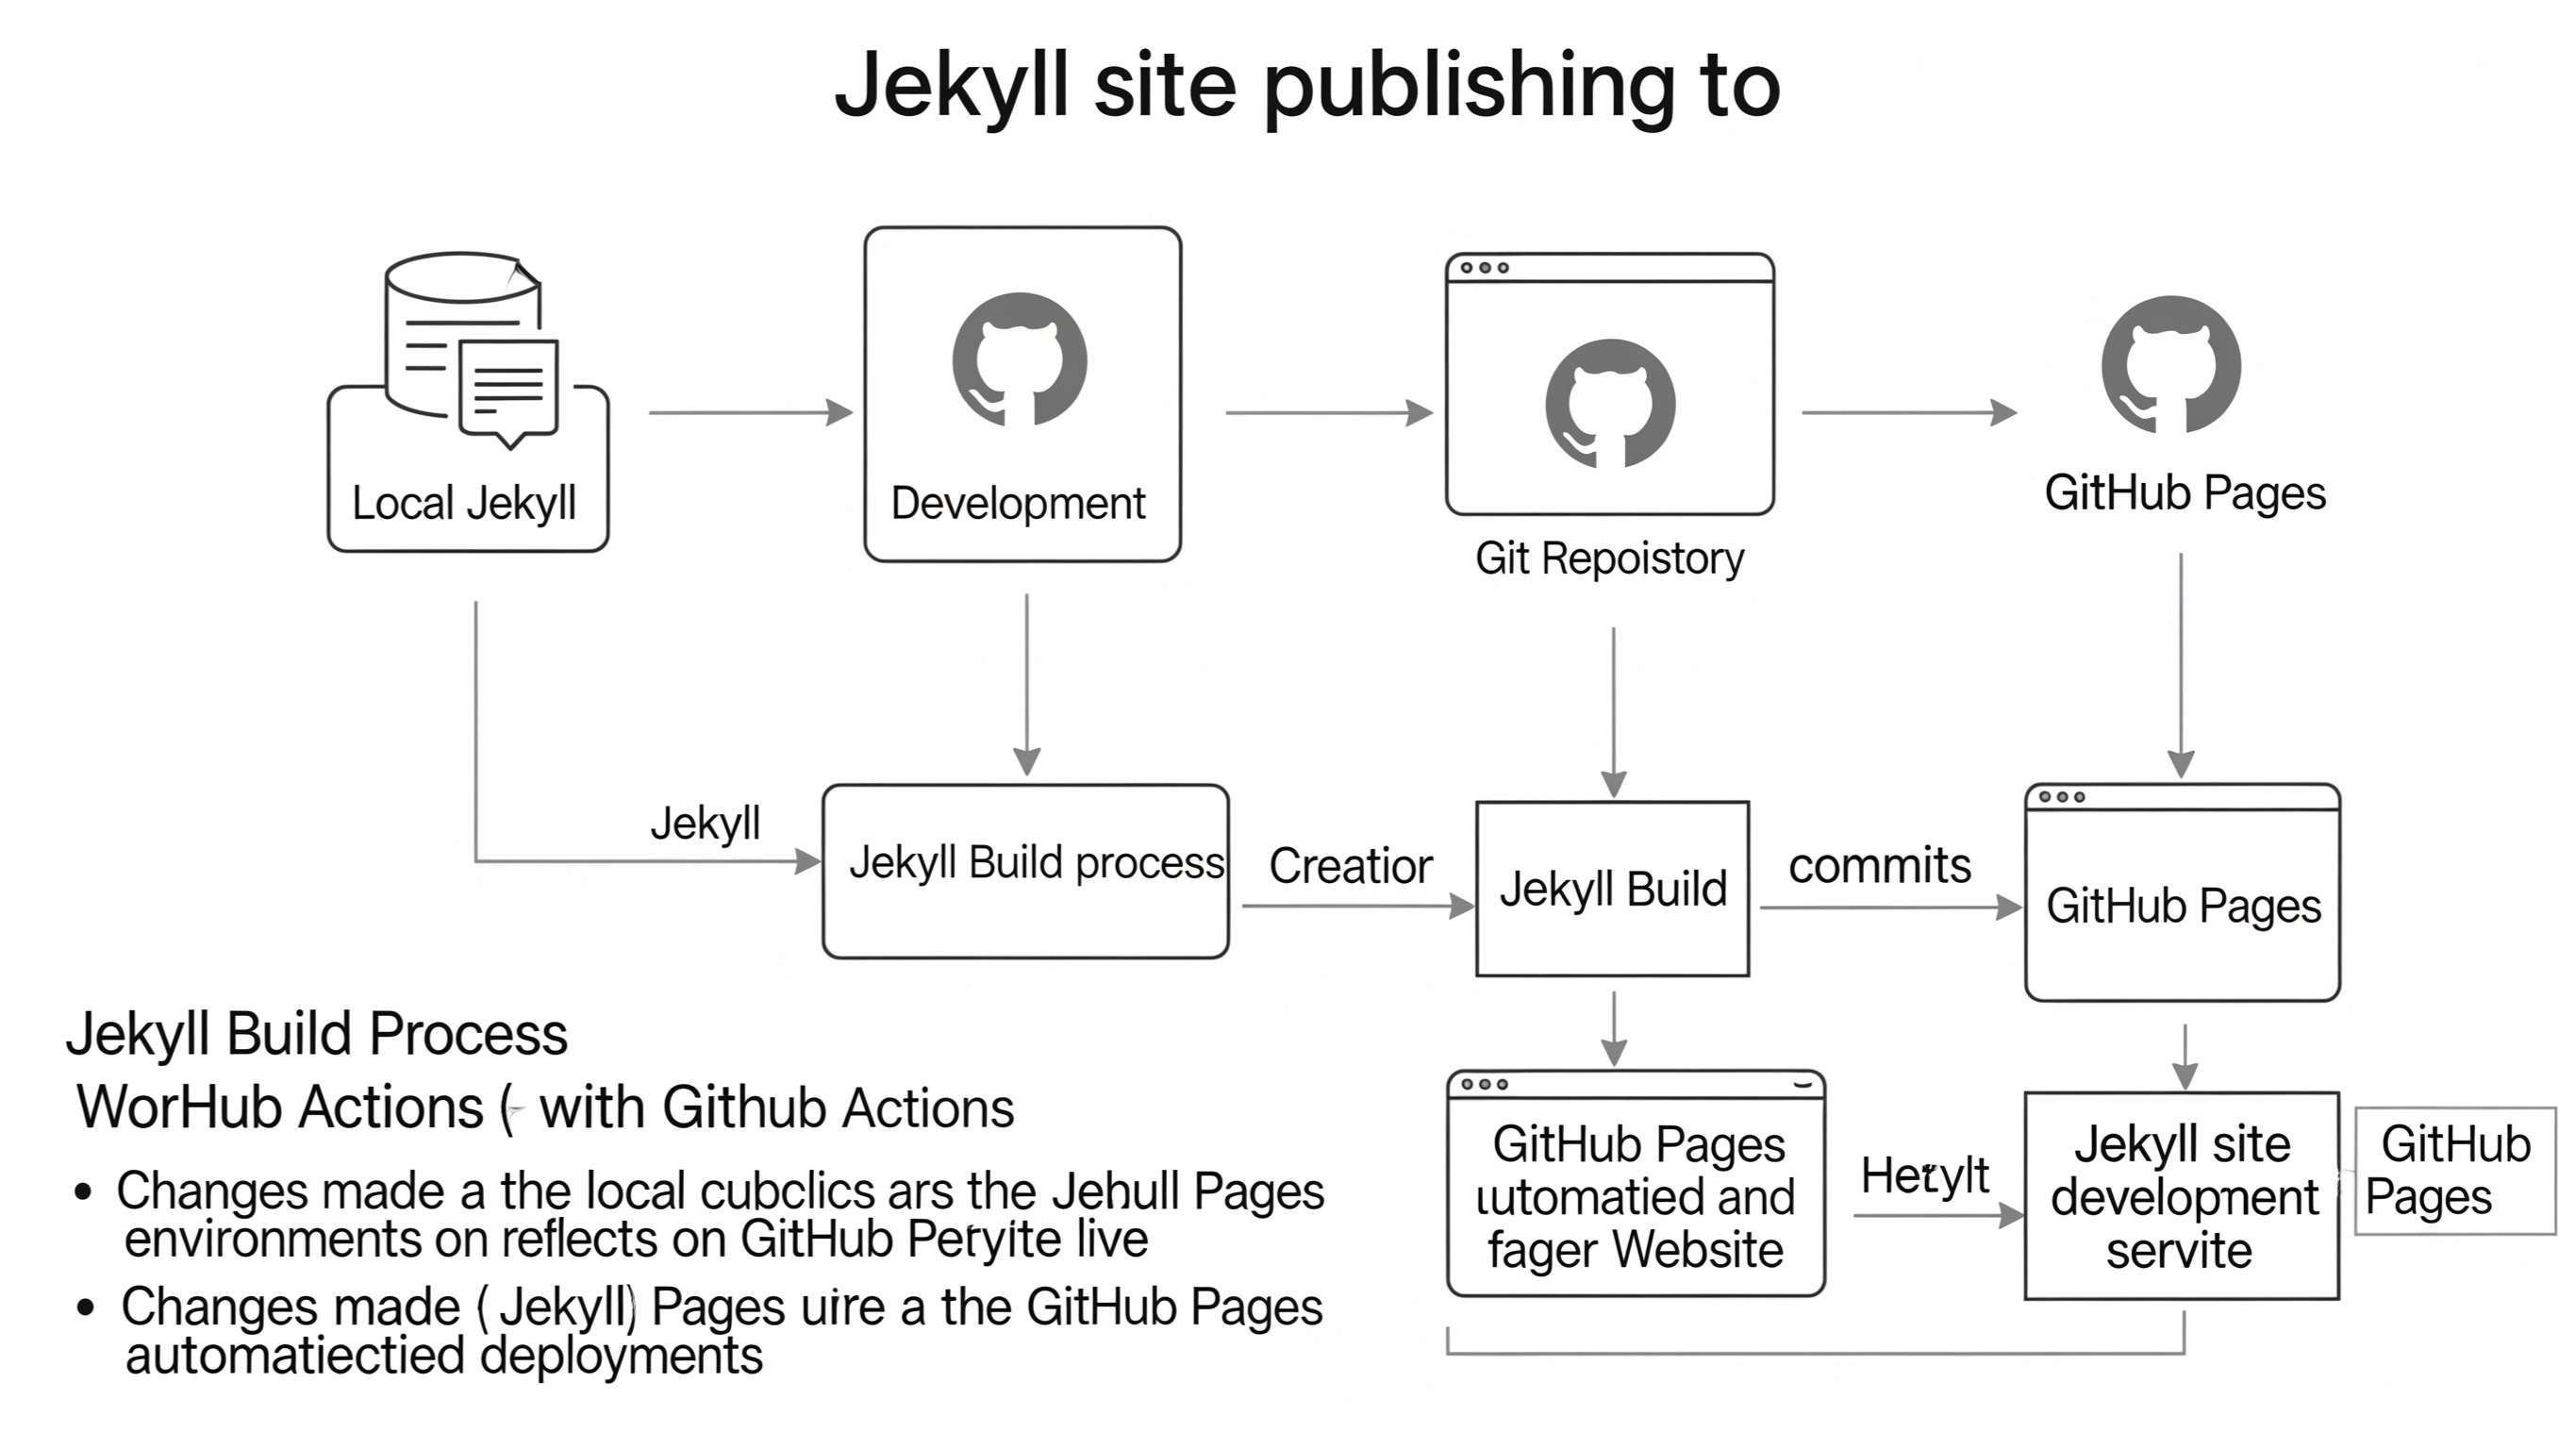
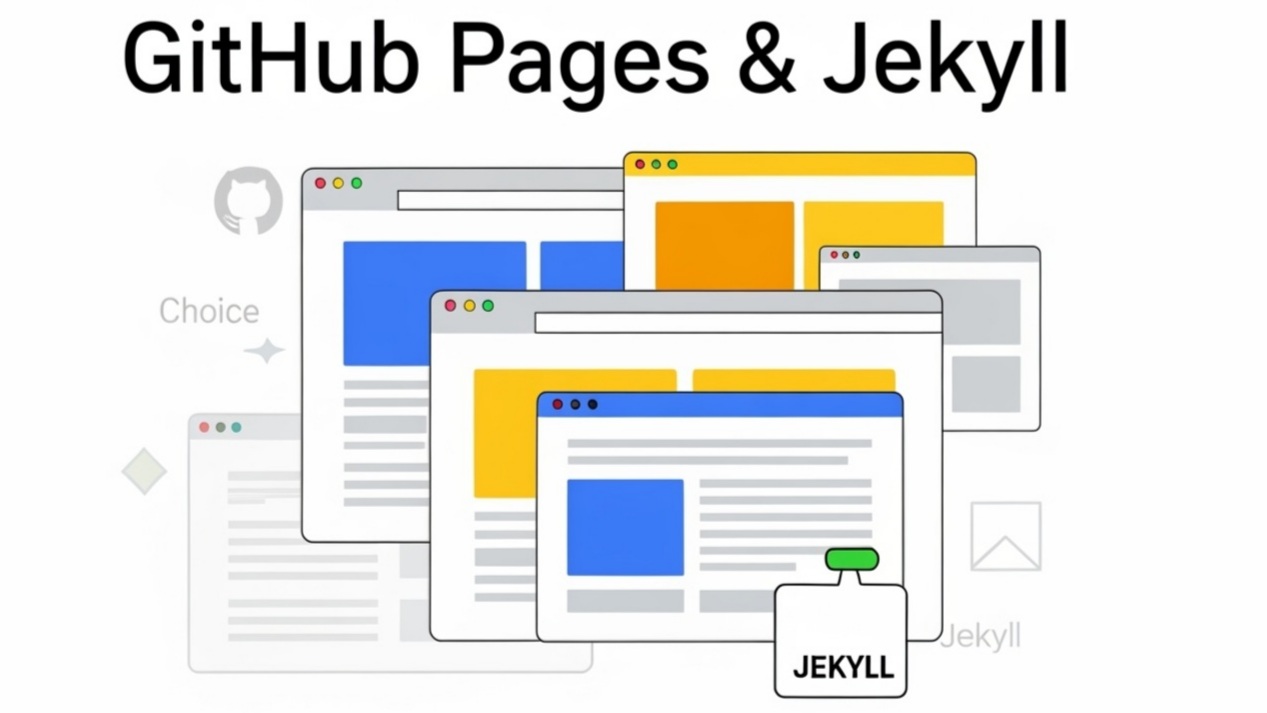
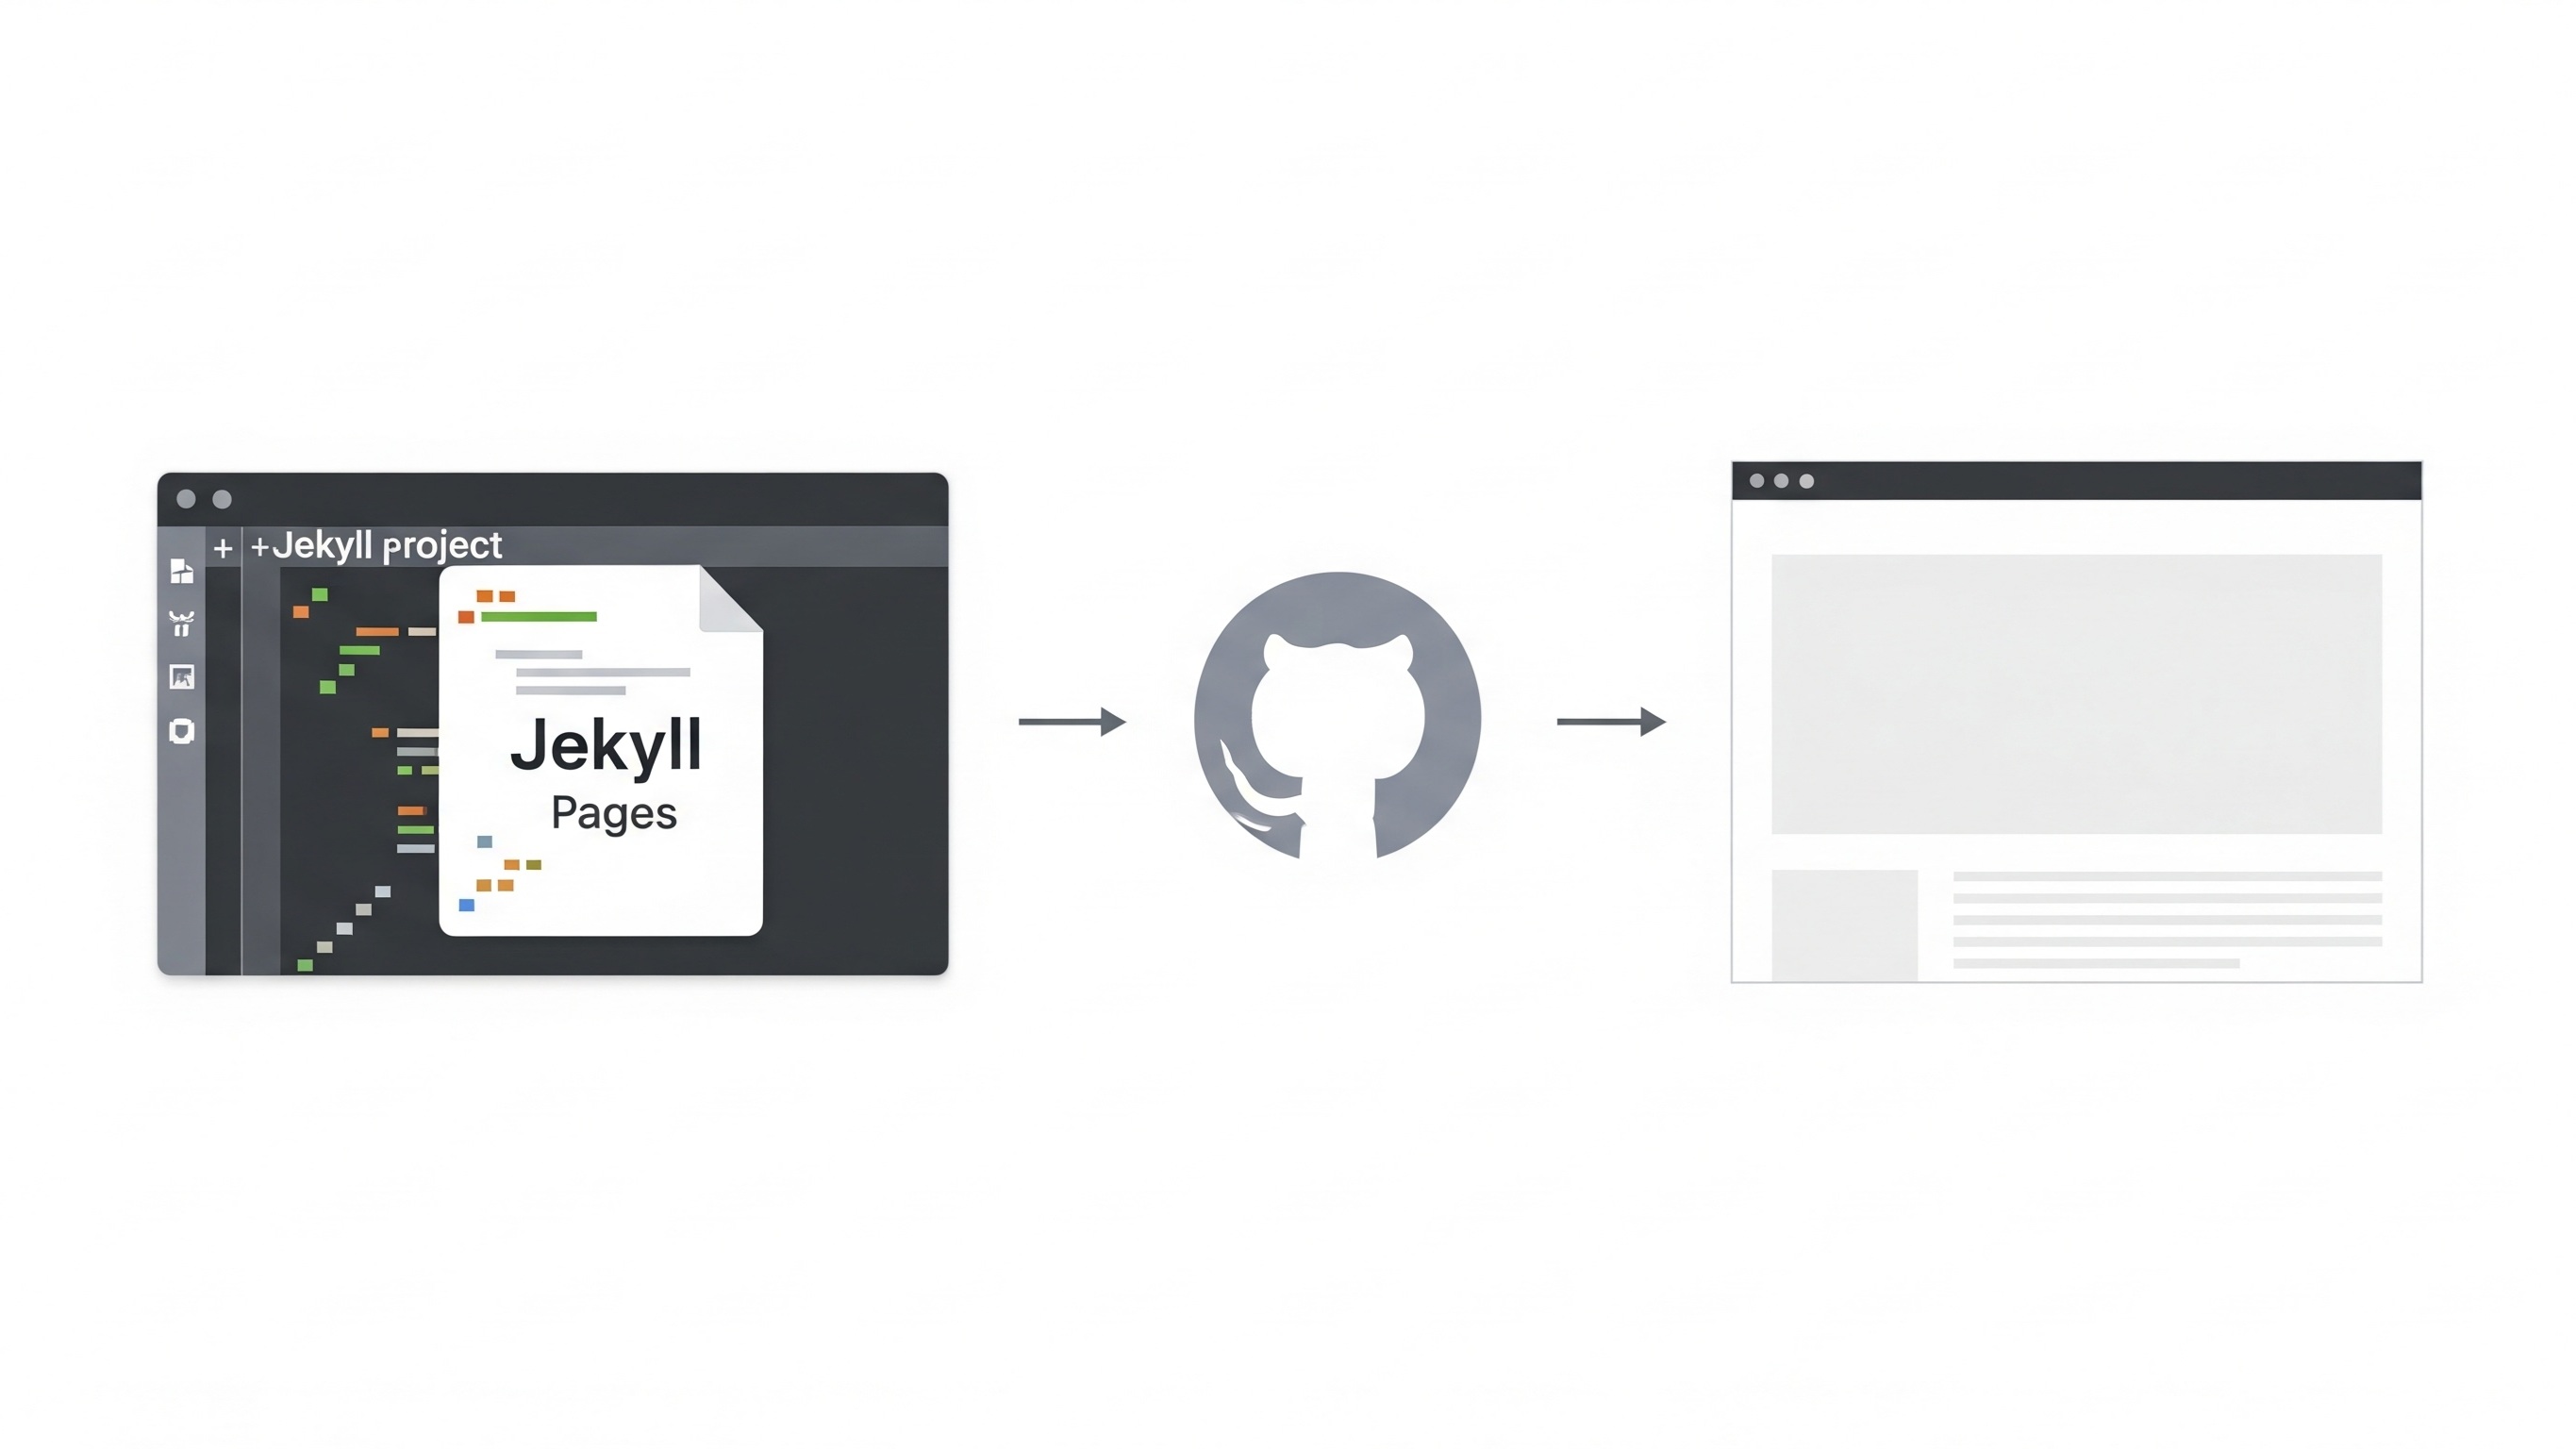
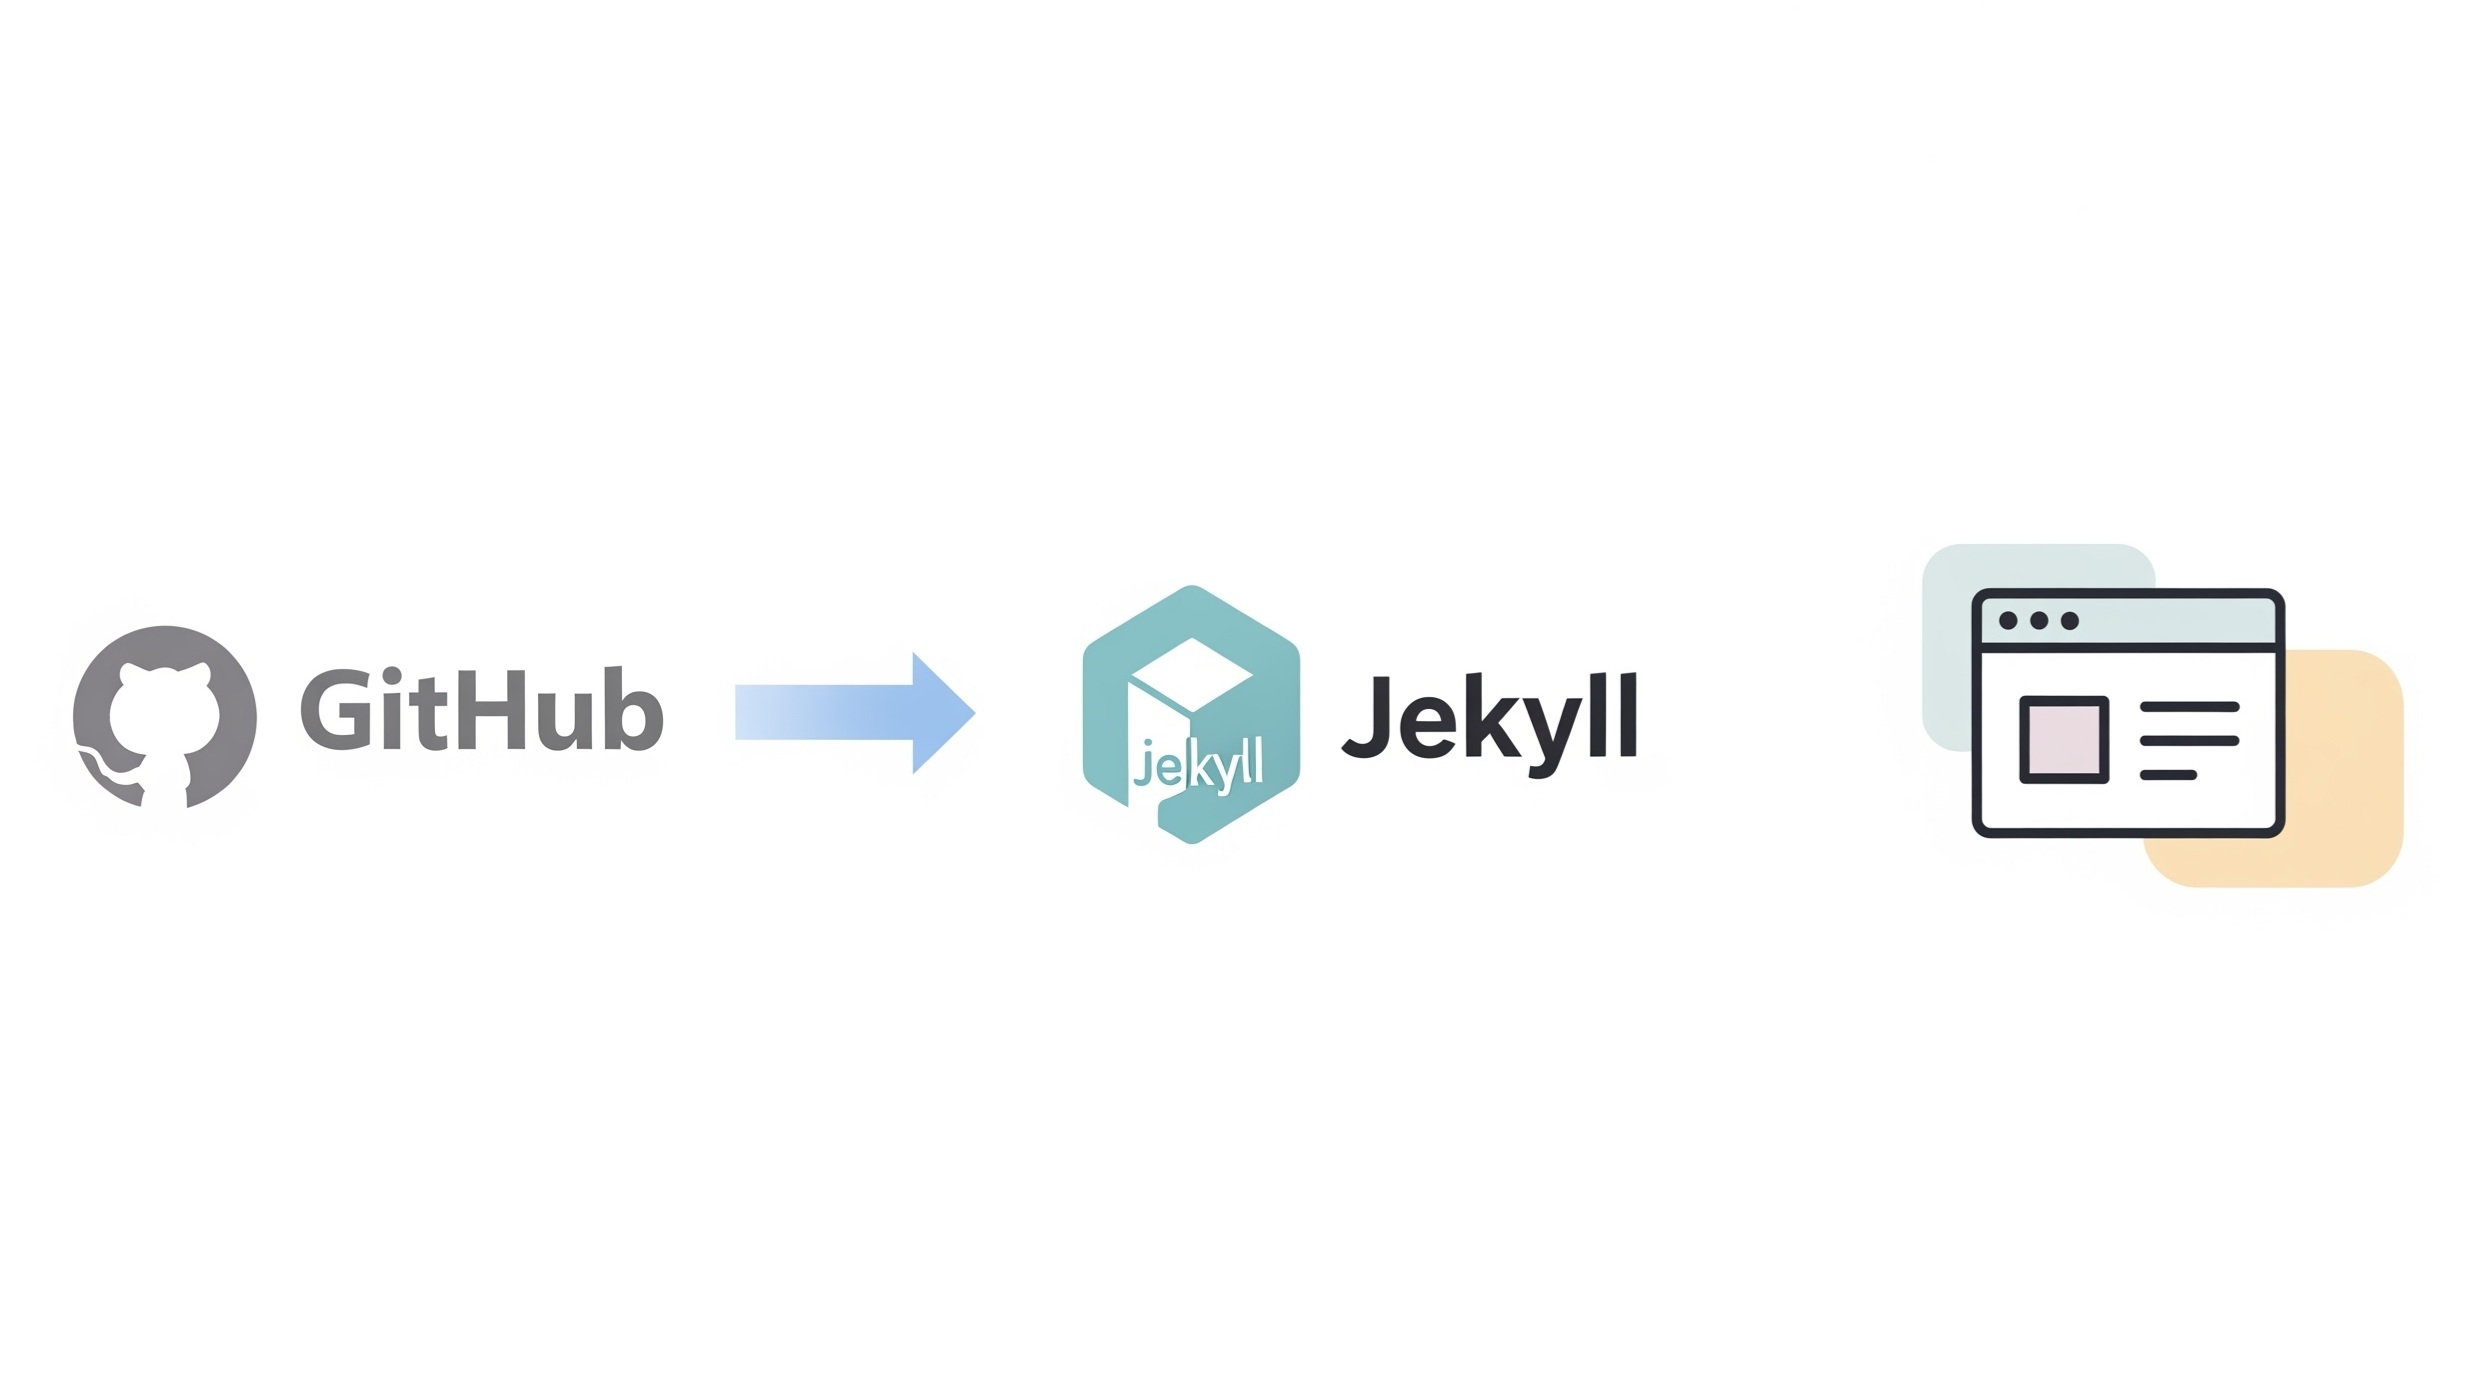
{% endfor %}{% endraw %}How Do You Configure the Site for GitHub Pages?
Once your Jekyll site is ready locally, follow these steps:
- Push your code to a new GitHub repository.
- Go to Settings > Pages.
- Select the
mainbranch and/ (root)folder. - GitHub will automatically build and serve your site at
https://yourusername.github.io/repository-name/.
For compatibility, use GitHub’s supported Jekyll version and avoid custom plugins unless you build the site locally and push the compiled output to a separate branch (e.g., gh-pages).
What Common Pitfalls Should You Avoid?
- Not setting
baseurlcorrectly in_config.yml - Forgetting to add front matter, which prevents rendering
- Using unsupported plugins on GitHub Pages
- Wrong folder structure for assets
Can You Use Templates or Themes with Your HTML?
Yes, you can integrate your HTML project with Jekyll themes or start from scratch. Jekyll themes use the same logic as custom sites but provide pre-built layouts and includes. You can convert your existing project into a theme or extract elements from a theme to reuse in your project.
Is It Worth the Effort?
If you're managing a content-heavy site, Jekyll offers:
- Scalability through templating and includes
- Free hosting via GitHub Pages
- Built-in support for Markdown
- Flexible data handling via
_dataand collections - No need for a database or CMS
The learning curve is reasonable, especially if you already understand HTML and front-end concepts.
Converting an existing HTML project into a Jekyll site may take some initial effort, but the long-term benefits—especially for maintainability and scalability—are well worth it. Whether you're building a documentation site, a blog, or a portfolio, Jekyll offers a structured, repeatable, and modern way to manage your content.
By following this guide step by step, you're not only future-proofing your project but also aligning it with modern web development practices. Once deployed on GitHub Pages, you can say goodbye to tedious FTP uploads and hello to efficient static site deployment.